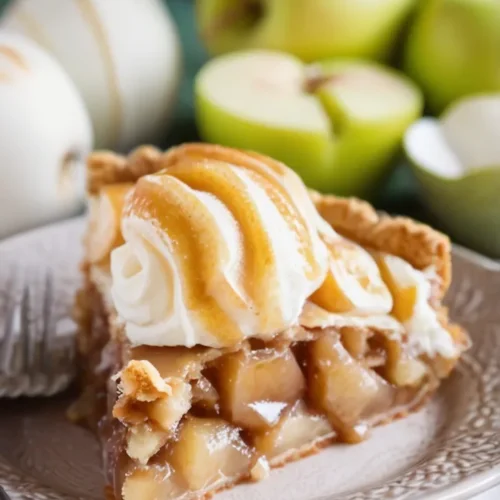
Mom’s Easy Apple Pie Recipe
Bursting with tender apples, sweet spices, and nestled in a buttery, flaky crust, it’s a pie that brings comfort and joy to any table. Whether it's for a holiday gathering or a casual weeknight treat, this apple pie is sure to become your go-to dessert.
Equipment
- 9-inch Glass Pie Plate
- Rolling Pin
- Mixing Bowls
- Sharp Knife or Apple Peeler
- Baking Sheet
Ingredients
For the Pie Crust
- 1 (14.1 oz.) box refrigerated pie crusts (I use Pillsbury brand, which contains 2 crusts in each box)
For the Filling
- 6 cups peeled, thinly sliced Granny Smith apples (about 5-6 apples; approximately 2 lbs. before peeling and slicing)
- ¾ cup sugar
- 2 tablespoons all-purpose flour
- 1 tablespoon lemon juice
- 1 teaspoon ground cinnamon
- ¼ teaspoon ground allspice
- ¼ teaspoon ground ginger
- ¼ teaspoon ground nutmeg
- ¼ teaspoon salt
- ⅛ teaspoon ground cardamom
Optional for Serving
- Vanilla ice cream or whipped cream
- Caramel sauce
Instructions
Preparing the Pie Crust
- Start by unrolling the refrigerated pie crust and allowing it to come to room temperature for a few minutes. This makes it easier to handle and ensures the dough won’t crack when you roll it out.
- Gently unroll one of the pie crusts and place it into your 9-inch glass pie plate. Press the edges of the crust firmly into the plate, making sure it fits snugly along the sides.
- To achieve that perfectly flaky texture, cover the pie crust with a clean kitchen towel or plastic wrap and refrigerate it for 10-15 minutes while you prep the filling.
Making the Apple Filling
- Begin by peeling, coring, and slicing your Granny Smith apples into thin slices (about ⅛-inch thick). You’ll need about 6 cups of apple slices. This variety of apple is perfect for pies because they hold their shape while baking and offer a nice tartness that balances the sweetness.
- In a large mixing bowl, toss the sliced apples with sugar, flour, lemon juice, cinnamon, allspice, ginger, nutmeg, salt, and cardamom. Make sure the apples are evenly coated with the spices and flour. The flour helps thicken the juices from the apples as they bake, creating a perfect, gooey filling.
- Feel free to taste the filling before adding it to the pie! If you prefer a sweeter pie, you can add a little extra sugar, or if you like a more tangy flavor, squeeze in more lemon juice. This recipe is versatile, so don’t be afraid to adjust to your liking
Assembling the Pie
- Once your crust is chilled, transfer the apple filling into the prepared pie crust. Be sure to pile the apples high because they will shrink as they cook, leaving you with a nice, thick filling.
- Unroll the second pie crust and place it over the filled pie. Gently press the edges of the top and bottom crusts together, then pinch or crimp the edges to seal them. This prevents the filling from spilling out during baking and gives the pie that beautiful, rustic finish.
- Using a sharp knife, cut a few slits in the top crust to allow steam to escape while the pie bakes. This prevents the filling from overflowing and gives the pie its signature look.
Bake the Pie
- To prevent any potential drips from ruining your oven, place your assembled pie on a baking sheet. This will catch any juices that bubble over the edges of the pie and make cleanup much easier.
- Bake the pie at 425°F for about 40-45 minutes, or until the crust is golden brown, and you can see the filling bubbling through the slits in the top crust. You may need to rotate the pie halfway through baking to ensure even cooking. Keep an eye on the edges of the crust to make sure they don’t burn.
- About halfway through the baking time, check the edges of the crust. If they are starting to get too dark, use strips of aluminum foil to cover them and prevent over-browning. This step helps keep the crust perfect and golden without getting too crispy or dark.
- Once the crust is golden and the filling is bubbly, remove the pie from the oven. You can check the filling by gently pressing the top with a spoon — it should feel soft and tender, with some of the juices slightly thickened.
- After baking, allow the pie to cool on a wire rack for at least 2 hours before slicing. This cooling time helps the filling set, making it easier to slice and serve. If you try to cut it too early, the filling might be runny, and the pie won’t hold its shape as well.