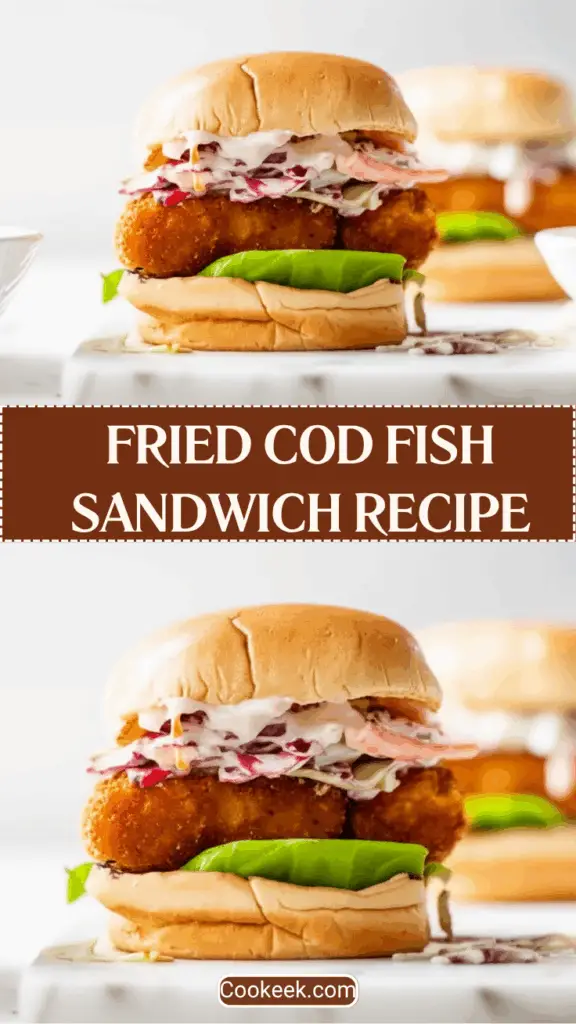
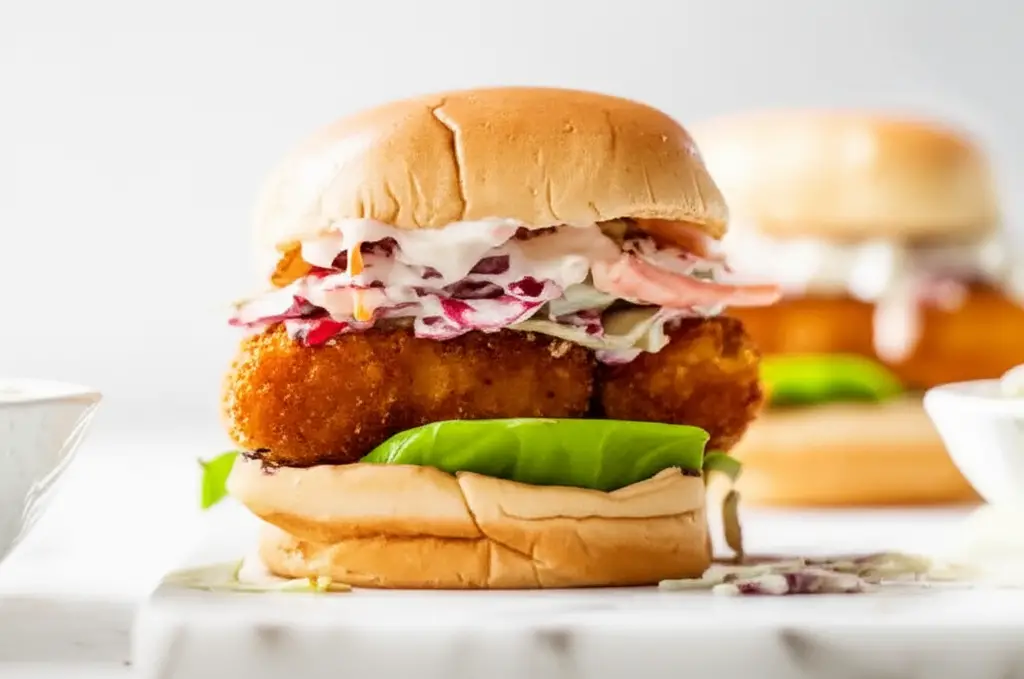
Craving a golden, crispy sandwich that delivers coastal flavor in every bite? Meet the Fried Cod Fish Sandwich—a crispy, flaky, pub-style classic you can easily master at home.
With tender Icelandic cod fillets, a perfectly seasoned batter, and tangy homemade tartar sauce, this sandwich packs both crunch and creaminess between two warm, steamy buns.
Whether you’re looking for a weekend comfort meal or an impressive dish for guests, this fish sandwich is a delicious crowd-pleaser.
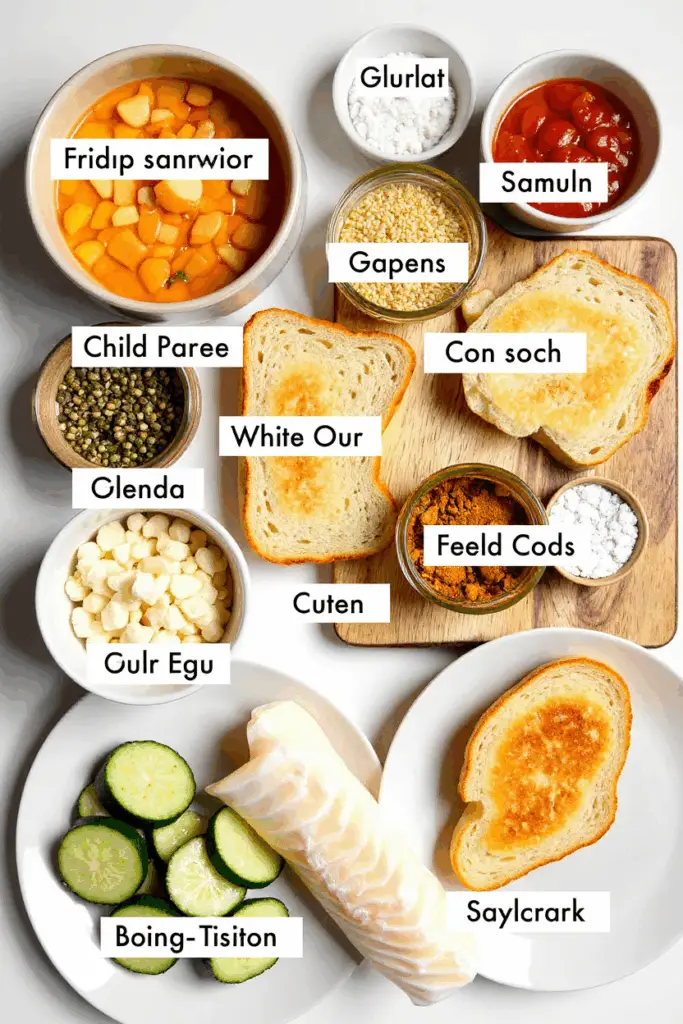
Ingredients List
Fried Fish
- 24 oz Icelandic Cod or similar white fish (cut into sandwich-sized portions)
- Salt and pepper, to season
- 2 qt peanut oil or other neutral frying oil
- 2 cups all-purpose flour, divided
- 1 ½ tablespoon Old Bay Seasoning, divided
- ½ tablespoon paprika
- 1 teaspoon turmeric
- ½ teaspoon white pepper
- ½ teaspoon baking powder
- 1 large egg
- 1 cup sparkling water
- 4 hamburger buns
- 2 slices cheddar cheese (halved)
Homemade Tartar Sauce
- ½ cup mayonnaise
- 3 tablespoon dill pickle, diced
- 1 tablespoon capers, diced
- 1 tablespoon fresh parsley, chopped
- 1 tablespoon lemon juice
- 2 teaspoon Dijon mustard
- Salt and pepper, to taste
Required Kitchen Tools
Creating the ultimate fried cod fish sandwich is made easier with the right tools at hand. Here’s what you’ll need to prepare this dish:
- Deep Frying Pan or Dutch Oven – For frying the fish fillets evenly.
- Wire Rack + Baking Sheet – To allow the fried cod to cool and drain excess oil.
- Mixing Bowls (Large & Small) – To prep the batter and tartar sauce.
- Tongs – For safely flipping and removing fish from the hot oil.
- Thermometer – To maintain the ideal frying temperature of 375°F.
- Whisk – For blending the wet batter to a smooth consistency.
- Steamer Basket or Metal Strainer – For gently steaming the buns.
These tools not only make prep and cooking easier but help you achieve a restaurant-quality sandwich right at home
Preparing the Fish and Tartar Sauce
Step 1: Prep the Tartar Sauce
Start by making the homemade tartar sauce, so the flavors have time to meld while you fry the fish.
- In a small bowl, combine:
- ½ cup mayonnaise
- 3 tbsp diced dill pickles
- 1 tbsp diced capers
- 1 tbsp fresh chopped parsley
- 1 tbsp lemon juice
- 2 tsp Dijon mustard
- Season with salt and pepper to taste.
- Mix well, cover, and refrigerate until ready to use.
This creamy, tangy tartar sauce is key to balancing the richness of the fried cod and adds a zesty finish to each bite.
Step 2: Cut and Season the Cod
Using your hamburger buns as a size guide, cut your 24 oz cod fillet into 4 evenly sized square portions (about 4–6 oz each). This ensures the fish fits perfectly in your sandwich.
- Pat each piece dry with a paper towel to help the batter stick.
- Season both sides generously with salt and black pepper.
- Place the fillets on a wire rack set over a baking sheet and let them rest while you prepare your dredging stations.
Step 3: Set Up the Dredge Stations
You’ll use a two-part dredging method to get that ultra-crispy golden coating.
Dry Dredge:
- In a shallow bowl, mix:
- 1 cup all-purpose flour
- 1 tbsp Old Bay Seasoning
Wet Batter:
In a separate bowl, combine the following:
- 1 cup flour
- ½ tbsp Old Bay Seasoning
- ½ tbsp paprika
- 1 tsp turmeric
- ½ tsp white pepper
- ½ tsp baking powder
- Pinch of salt and pepper
- 1 large egg
- 1 cup sparkling water (whisked in gradually)
Tip: The batter should be similar to salad dressing—smooth but thick enough to coat the fish well.
Now you’re ready to fry!
Frying the Cod
Step 1: Heat the Oil
Pour 2 quarts of peanut oil (or another neutral frying oil) into a heavy-bottomed pot or deep skillet. Heat over medium-high until it reaches 375°F (190°C).
Step 2: Coat the Fish
- Dredge each cod portion in the dry flour mixture, pressing lightly to coat all sides and edges.
- Place the floured fillets back on the wire rack.
- One at a time, dip each piece into the wet batter, ensuring it’s fully coated.
- Lift and let excess batter drip off before carefully placing the fish into the hot oil.
Step 3: Fry the Fish
- Carefully lower the battered cod into the oil. Fry one or two pieces at a time to avoid dropping the oil temperature.
- Fry for 2–3 minutes on the first side, then flip with tongs and fry for another 2 minutes, or until the fillets are golden brown and crisp.
- Transfer the cooked fish to a clean wire rack to drain. Avoid paper towels—they can trap steam and make the coating soggy.
Step 4: Steam the Buns
While the fish rests, warm the buns:
- Place the hamburger buns in a steamer basket or strainer set over simmering water.
- Steam for 10 seconds to soften them slightly, giving that perfect fast-food-style texture.
Assembling and Serving the Sandwich
Now that your crispy cod and creamy tartar sauce are ready, it’s time to bring it all together.
Step-by-Step Assembly
- Bottom Bun:
Slather a generous spoonful of your homemade tartar sauce on the bottom half of a steamed bun. - Fried Cod:
Place one piece of freshly fried cod on top of the sauce. - Cheddar Cheese:
While the fish is still hot, add half a slice of cheddar cheese—it’ll gently melt over the crispy crust. - More Tartar Sauce:
Spoon a bit more tartar sauce over the fish for added flavor and moisture. - Top Bun:
Place the top half of the bun on, give it a gentle press, and you’re ready to serve.
Serving Suggestions
These sandwiches are best enjoyed immediately while the fish is hot and crispy. Serve them with:
- Crispy French fries or potato wedges
- Coleslaw
- A lemon wedge for a fresh squeeze of citrus
- Cold beer or sparkling lemonade for a refreshing pairing

Storage Instructions
Leftover Fish
If you have leftover fried cod:
- Cool completely, then store in an airtight container in the fridge for up to 2 days.
- Reheat in a preheated oven at 375°F for 10–12 minutes to restore crispiness.
Avoid microwaving—it will make the coating soggy.
Tartar Sauce
Homemade tartar sauce can be stored in the fridge for up to 5 days in a sealed jar or container.

Fried Cod Fish Sandwich Recipe
Equipment
- Deep Frying Pan or Dutch Oven
- Wire Rack + Baking Sheet
- Mixing Bowls (Large & Small)
- Tongs
- Thermometer
- Whisk
- Steamer Basket or Metal Strainer
Ingredients
- 24 oz Icelandic Cod or similar white fish (cut into sandwich-sized portions)
- Salt and pepper, to season
- 2 qt peanut oil or other neutral frying oil
- 2 cups all-purpose flour, divided
- 1 ½ tablespoon Old Bay Seasoning, divided
- ½ tablespoon paprika
- 1 tablespoon turmeric
- ½ tablespoon white pepper
- ½ tablespoon baking powder
- 1 large egg
- 1 cup sparkling water
- 4 hamburger buns
- 2 slices cheddar cheese (halved)
Homemade Tartar Sauce
- ½ cup mayonnaise
- 3 tablespoon dill pickle, diced
- 1 tablespoon capers, diced
- 1 tablespoon fresh parsley, chopped
- 1 tablespoon lemon juice
- 2 tablespoon Dijon mustard
- Salt and pepper, to taste
Instructions
Prep the Tartar Sauce
- Start by making the homemade tartar sauce, so the flavors have time to meld while you fry the fish.This creamy, tangy tartar sauce is key to balancing the richness of the fried cod and adds a zesty finish to each bite.In a small bowl, combine:½ cup mayonnaise3 tbsp diced dill pickles1 tbsp diced capers1 tbsp fresh chopped parsley1 tbsp lemon juice2 tsp Dijon mustardSeason with salt and pepper to taste.Mix well, cover, and refrigerate until ready to use.
Cut and Season the Cod
- Using your hamburger buns as a size guide, cut your 24 oz cod fillet into 4 evenly sized square portions (about 4–6 oz each). This ensures the fish fits perfectly in your sandwich.Pat each piece dry with a paper towel to help the batter stick.Season both sides generously with salt and black pepper.Place the fillets on a wire rack set over a baking sheet and let them rest while you prepare your dredging stations.
Dry Dredge
- In a shallow bowl, mix:1 cup all-purpose flour1 tbsp Old Bay Seasoning
Wet Batter
- In a separate bowl, combine the following:1 cup flour½ tbsp Old Bay Seasoning½ tbsp paprika1 tsp turmeric½ tsp white pepper½ tsp baking powderPinch of salt and pepper1 large egg1 cup sparkling water (whisked in gradually)
Frying the Cod
- Pour 2 quarts of peanut oil (or another neutral frying oil) into a heavy-bottomed pot or deep skillet. Heat over medium-high until it reaches 375°F (190°C).
- Dredge each cod portion in the dry flour mixture, pressing lightly to coat all sides and edges.Place the floured fillets back on the wire rack.One at a time, dip each piece into the wet batter, ensuring it’s fully coated.Lift and let excess batter drip off before carefully placing the fish into the hot oil.
- Carefully lower the battered cod into the oil. Fry one or two pieces at a time to avoid dropping the oil temperature.Fry for 2–3 minutes on the first side, then flip with tongs and fry for another 2 minutes, or until the fillets are golden brown and crisp.Transfer the cooked fish to a clean wire rack to drain. Avoid paper towels—they can trap steam and make the coating soggy.
- Place the hamburger buns in a steamer basket or strainer set over simmering water.Steam for 10 seconds to soften them slightly, giving that perfect fast-food-style texture.
Conclusion
The Fried Cod Fish Sandwich brings together golden, crispy fish, rich cheddar, and zesty tartar sauce for a satisfying, flavor-packed bite. By following the steps above—from seasoning to battering and frying—you’ll create a sandwich that rivals any seafood shack favorite. Serve it fresh, savor it hot, and don’t forget the extra napkins—this one’s deliciously messy