Crispy Cast Iron Skillet Lemon Herb Chicken Thighs
These Crispy Cast Iron Skillet Chicken Thighs are juicy, tender, and packed with flavor, with beautifully golden, crispy skin. Made with simple pantry staples, this easy chicken thigh recipe comes together quickly in a cast iron skillet and finishes in the oven for perfectly cooked chicken every time.

Why This Recipe Works
This cast iron skillet chicken thighs recipe works because the chicken is first seared skin-side down in a hot skillet, which creates irresistibly crispy, golden-brown skin while keeping the meat juicy. A little olive oil and butter add richness, while fresh garlic infuses the chicken with savory flavor as it finishes cooking in the oven. With minimal prep and simple ingredients, it's an easy weeknight dinner that feels much more special than the effort required.
Tips to Make Crispy Cast Iron Skillet Lemon Herb Chicken Thighs Recipe
- Pat the chicken dry: Use paper towels to remove excess moisture before seasoning. Dry skin browns and crisps much better.
- Use a hot skillet: Allow the cast iron skillet to heat properly before adding the chicken.
- Don't move the chicken too soon: Let the thighs cook skin-side down for 6–8 minutes so the skin has enough time to develop a deep golden crust.
- Use a meat thermometer: Chicken thighs should reach an internal temperature of 165°F (74°C) for safe cooking.
- Let the chicken rest: A few minutes of resting allows the juices to settle before serving.
- Watch the garlic: Add the minced garlic after flipping the chicken so it doesn't burn during the initial high-heat sear.
Chef's Tip
For the crispiest cast iron chicken thighs, make sure the chicken skin is thoroughly dry before it hits the skillet and resist the temptation to move the chicken while it sears. Starting skin-side down in a properly heated cast iron skillet gives the skin direct contact with the hot surface, helping it become deeply golden and crisp while the oven finishes cooking the meat.
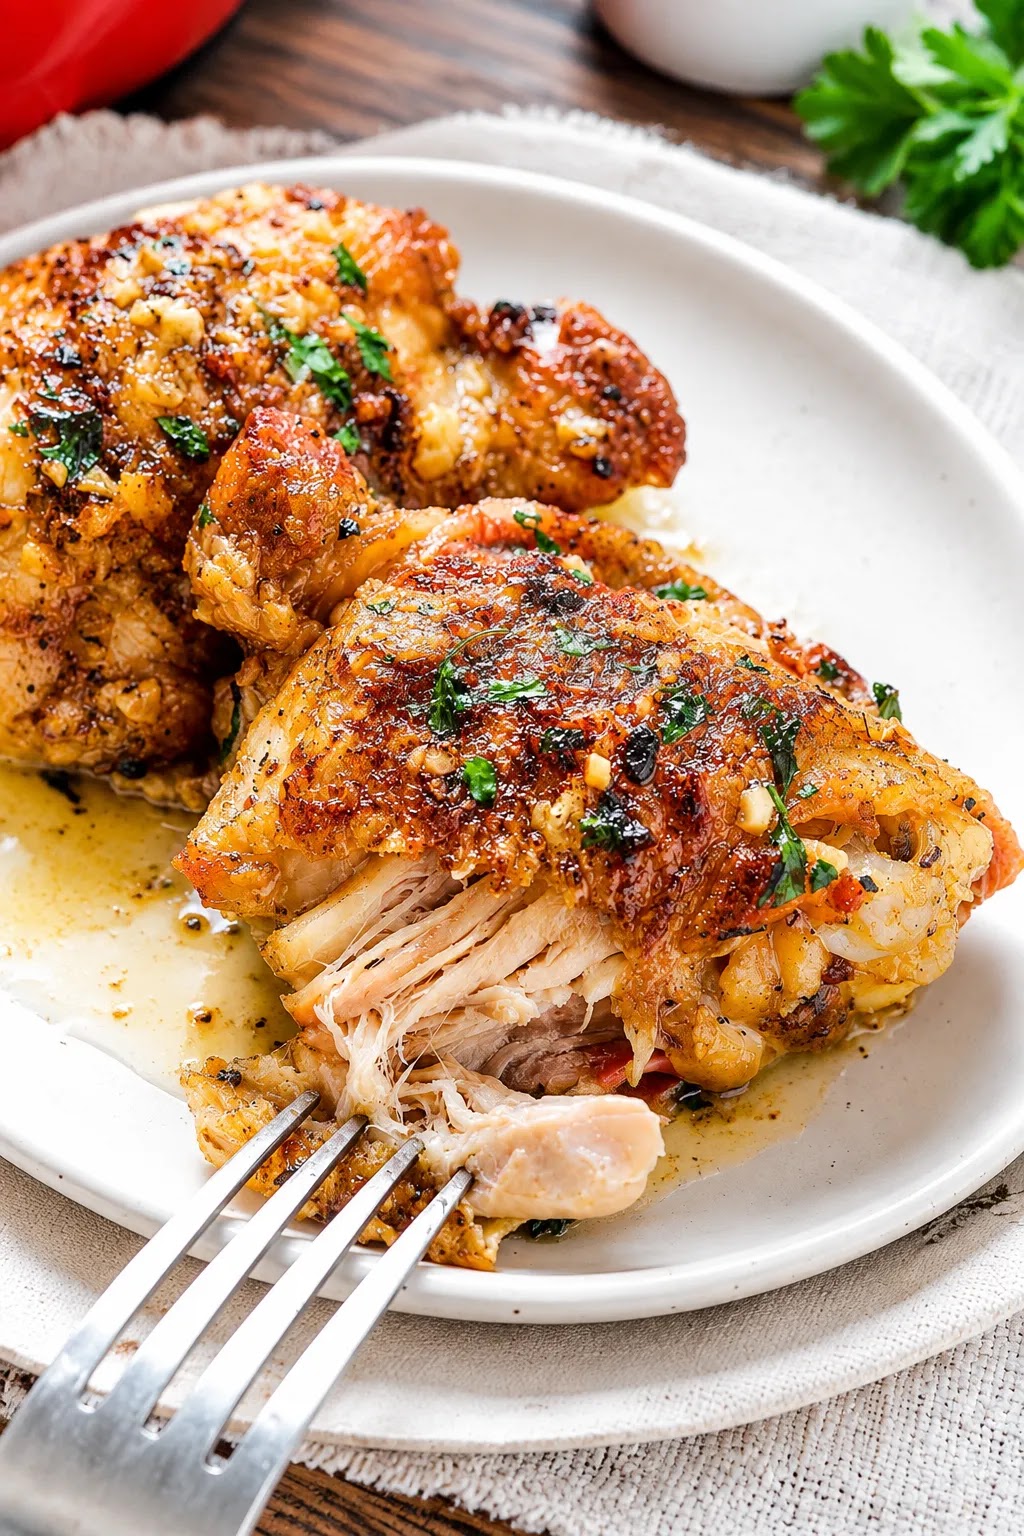
Crispy Cast Iron Skillet Lemon Herb Chicken Thighs
Ingredients
Click any ingredient to strike it off while cooking.
Main Ingredients
Recommended Kitchen Equipment
Tested tools that yield the best results for this recipe.

Lodge 12-Inch Cast Iron Skillet
View on Amazon
Cast Iron Skillet
View on Amazon
Instant-Read Meat Thermometer
View on Amazon
Paper Towels
View on Amazon
Tongs
View on Amazon
Garlic Press or Chef's Knife
View on AmazonStep-by-Step Instructions
-
1
Preheat your oven to 400°F (200°C). Make sure your cast iron skillet is suitable for oven use.
2:NaN -
2
Pat the chicken thighs dry with paper towels. Season both sides evenly with 1/2 teaspoon salt and 1/2 teaspoon black pepper.
1:NaN -
3
Place a cast iron skillet over medium-high heat and allow it to heat until hot. Add the olive oil and butter, swirling gently to coat the bottom of the skillet.
2:NaN -
4
Place the chicken thighs skin-side down in the hot skillet. Cook for 6–8 minutes, without moving them unnecessarily, until the skin becomes deeply golden brown and crispy.
8:NaN -
5
Flip the chicken thighs so the skin side is facing up. Add the minced garlic around the chicken in the skillet. Carefully transfer the entire skillet to the preheated oven.
0:NaN -
6
Bake the chicken thighs for 12–15 minutes, or until the thickest part of the chicken reaches an internal temperature of 165°F (74°C) when checked with an instant-read thermometer.
15:NaN -
7
Remove the skillet from the oven and let the chicken thighs rest in the skillet for a few minutes before serving. This helps the juices redistribute and keeps the chicken moist and tender.
5:NaN
📦 Storage & Make-Ahead Tips
To store, place leftover chicken thighs in an airtight container and refrigerate for up to 3–4 days. To freeze, allow the cooked chicken to cool completely, then transfer it to a freezer-safe container or bag and freeze for up to 6 months. Thaw frozen chicken overnight in the refrigerator before reheating. To reheat, place the chicken thighs in a baking dish and warm in a 350°F oven until heated through. For the crispiest skin, avoid reheating the chicken in the microwave.
Nutrition Facts (Per Serving)
Reader Reviews & Ratings
Tried this recipe? Leave a rating & review
No reviews yet for this recipe.
Be the first to try it and share your results above!