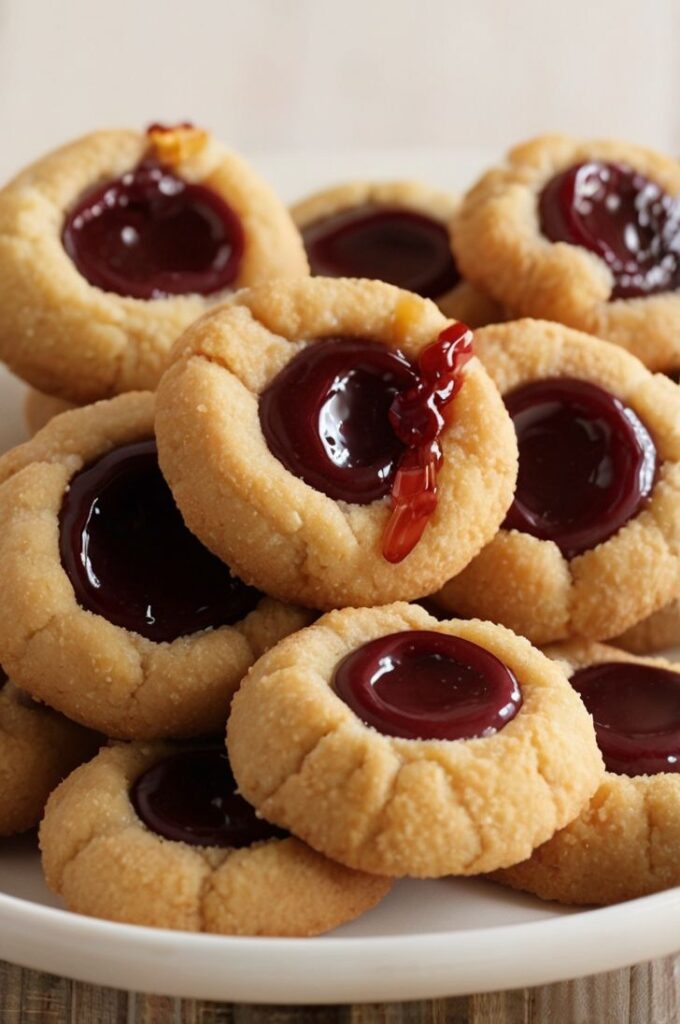
Craving a sweet treat that’s both simple and delightful? Look no further than thumbprint cookies – a classic and easy-to-make dessert that’s perfect for any occasion.

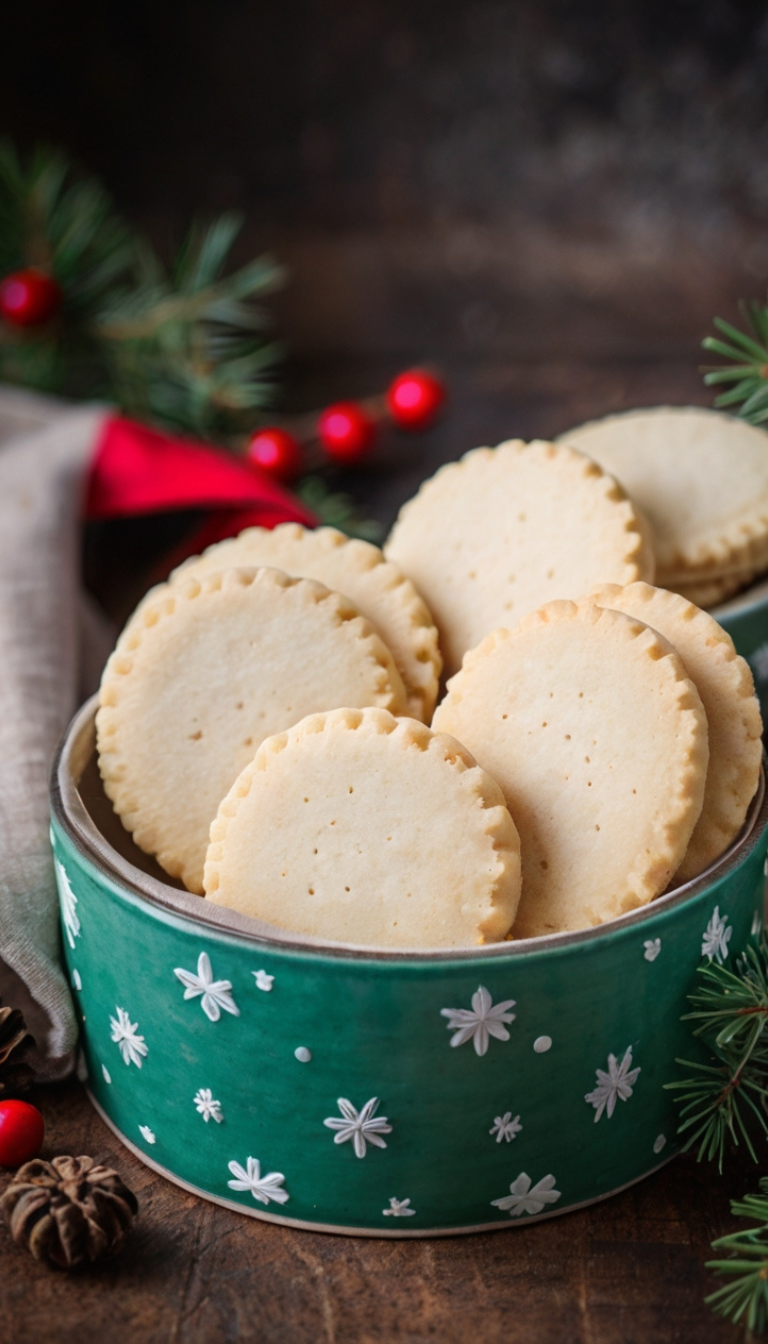
These buttery, melt-in-your-mouth cookies are filled with your choice of jam, creating a beautiful balance of flavors. Whether you opt for raspberry, strawberry, or apricot jam, each bite is a burst of sweetness.
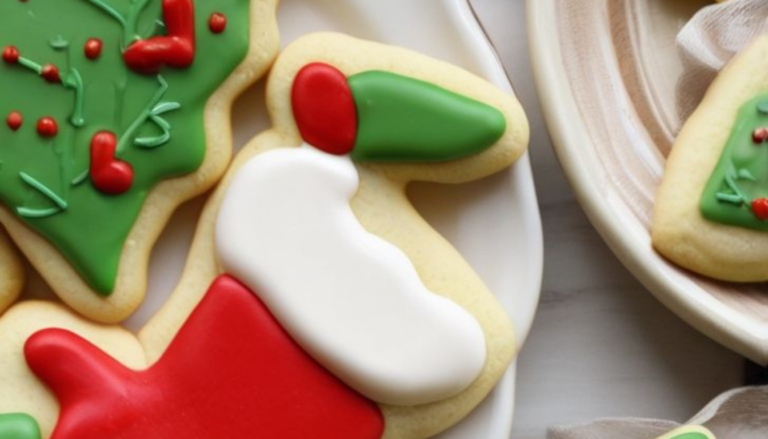
Thumbprint cookies are a perfect snack for your afternoon tea or a fun addition to your holiday cookie tray.
Ingredients List
Cookie Ingredients
- ¾ cup (1 ½ sticks) salted butter, softened at room temperature
- ¾ cup granulated sugar, divided
- 1 egg, at room temperature
- 1 teaspoon vanilla extract
- 1 ¾ cups all-purpose flour
- ¼ teaspoon salt
- ½ cup raspberry, strawberry, or apricot jam (or your favorite jam, jelly, or preserves)
Required Kitchen Tools
When making thumbprint cookies, it’s important to have the right tools for a smooth and easy baking experience. Here’s a list of the essentials you’ll need:
- Hand or Stand Mixer: A mixer is key to efficiently combining the butter and sugar and making the dough light and fluffy.
- Cookie Scoop: Using a cookie scoop ensures even-sized dough balls, which helps maintain consistent baking times and results.
- Small Dish for Sugar: A small bowl to roll the dough balls in sugar helps coat the cookies evenly, giving them a beautiful, sweet finish.
- Baking Sheets: Line your baking sheets with parchment paper or silicone mats for easy cookie removal and even baking.
These tools will help you create perfectly shaped and delicious thumbprint cookies every time.
Dough Preparation
The dough for thumbprint cookies is simple to prepare and comes together quickly. The key is in the mixing and chilling, which ensures the dough is the perfect consistency for shaping.
Mixing the Ingredients
Start by creaming the butter and ½ cup of the granulated sugar together in a large bowl using a hand or stand mixer. Beat the mixture until light and fluffy. Add the egg and vanilla extract, and continue to mix until well combined.
In a separate bowl, whisk together the all-purpose flour and salt. Gradually add the flour mixture to the wet ingredients, mixing on low speed to combine. Once fully incorporated, you’ll have a smooth dough.
Chilling the Dough
Once the dough is prepared, cover the bowl with plastic wrap and place it in the refrigerator to chill for about 30 minutes. This chilling step is essential for making the dough easier to handle and helps prevent the cookies from spreading too much while baking.
Shaping the Thumbprint Cookies
Shaping the dough and filling it with jam is where the magic happens. Follow these steps for perfectly formed thumbprint cookies that look as good as they taste.
Rolling the Dough
Once the dough has chilled, it’s time to shape the cookies. Start by placing the remaining ¼ cup of granulated sugar in a small dish. Using a cookie scoop or a tablespoon, scoop out heaping portions of dough and roll them into smooth balls using your hands. Roll each dough ball in the sugar, ensuring they are well-coated.
Creating the Thumbprint
Place the sugar-coated dough balls onto the prepared baking sheets, leaving about 2 inches of space between each. Use your thumb (or the back of a spoon) to gently press an indentation into the center of each cookie. Be sure to make a deep enough indentation to hold the jam, but avoid pressing the dough all the way through.
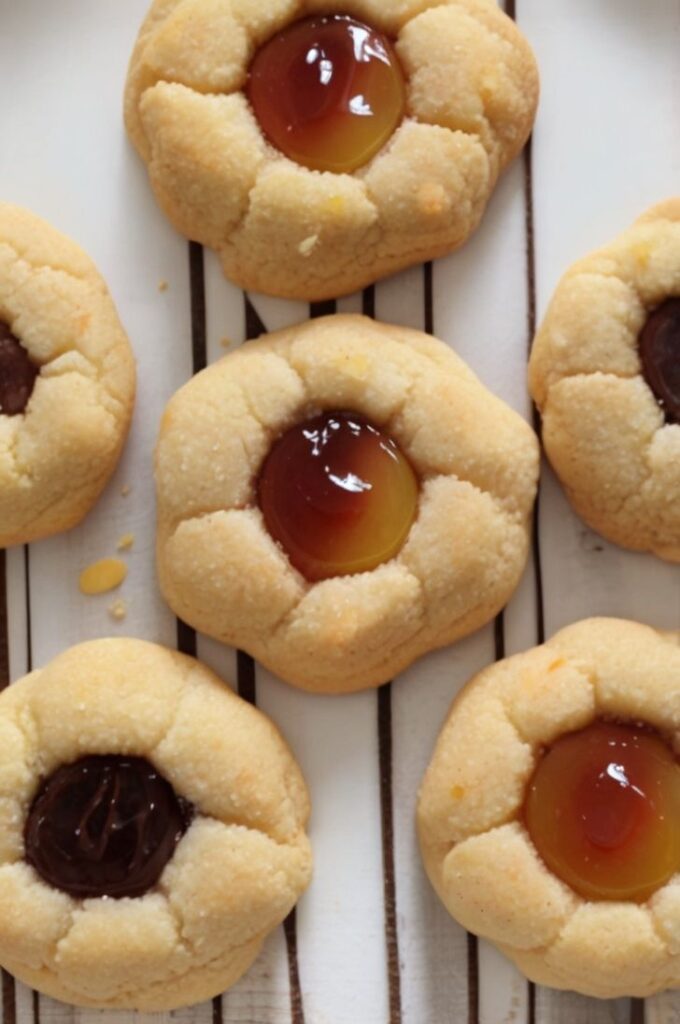
Filling the Indentation
Spoon about ¼ to ½ teaspoon of your favorite jam into the center of each dough ball. You can use raspberry, strawberry, apricot, or any other jam, jelly, or preserves of your choice. The jam should fill the indentation without overflowing.
Chilling Before Baking
After filling the cookies, return the baking sheets to the refrigerator or freezer to chill for an additional 10 minutes. This helps the cookies maintain their shape while baking, and the jam will stay neatly in place during the baking process.
Baking and Serving
Now that your thumbprint cookies are shaped, filled, and chilled, it’s time to bake them to perfection.
Baking the Cookies
Preheat your oven to 350°F (175°C). While the oven is heating up, place the baking sheets in the oven and bake for about 12-14 minutes, or until the edges of the cookies are lightly golden and the bottoms are golden brown. Keep an eye on them to avoid overbaking.
Once done, remove the cookies from the oven and allow them to cool on the baking sheets for 5-10 minutes before transferring them to wire racks to cool completely.
Serving and Decoration
Thumbprint cookies are delicious as-is, but you can enhance their presentation and flavor with a few simple touches. Here are a few ideas:
- Powdered Sugar: Dust the cooled cookies lightly with powdered sugar for a delicate, sweet finish.
- Chocolate Drizzle: For a richer flavor, drizzle melted chocolate over the top of each cookie.
- Nuts: If you love a little crunch, consider rolling the edges of the cookies in chopped nuts, like walnuts or pistachios, before baking.

Storage Instructions
To keep your thumbprint cookies fresh, store them in an airtight container at room temperature for up to 1 week. Be sure to place parchment paper between layers of cookies to prevent them from sticking together.
Freezing Thumbprint Cookies
If you’d like to store your cookies for a longer period, you can freeze them. Place the cookies in a single layer on a baking sheet and freeze until solid. Once frozen, transfer them to a freezer-safe bag or container. They will stay fresh in the freezer for up to 3 months. To enjoy them, simply thaw at room temperature.

Thumbprint Cookies Recipe
Equipment
- Hand or Stand Mixer
- Cookie Scoop
- Small Dish for Sugar
- Baking Sheets
Ingredients
Cookie Ingredients
- ¾ cup (1 ½ sticks) salted butter, softened at room temperature
- ¾ cup granulated sugar, divided
- 1 egg, at room temperature
- 1 teaspoon vanilla extract
- 1 ¾ cups all-purpose flour
- ¼ teaspoon salt
- ½ cup raspberry, strawberry, or apricot jam (or your favorite jam, jelly, or preserves)
Instructions
Dough Preparation
- The dough for thumbprint cookies is simple to prepare and comes together quickly. The key is in the mixing and chilling, which ensures the dough is the perfect consistency for shaping
Mixing the Ingredients
- Start by creaming the butter and ½ cup of the granulated sugar together in a large bowl using a hand or stand mixer. Beat the mixture until light and fluffy. Add the egg and vanilla extract, and continue to mix until well combined.
- In a separate bowl, whisk together the all-purpose flour and salt. Gradually add the flour mixture to the wet ingredients, mixing on low speed to combine. Once fully incorporated, you’ll have a smooth dough.
Chilling the Dough
- Once the dough is prepared, cover the bowl with plastic wrap and place it in the refrigerator to chill for about 30 minutes. This chilling step is essential for making the dough easier to handle and helps prevent the cookies from spreading too much while baking.
Shaping the Thumbprint Cookies
- Shaping the dough and filling it with jam is where the magic happens. Follow these steps for perfectly formed thumbprint cookies that look as good as they taste.
- Once the dough has chilled, it’s time to shape the cookies. Start by placing the remaining ¼ cup of granulated sugar in a small dish. Using a cookie scoop or a tablespoon, scoop out heaping portions of dough and roll them into smooth balls using your hands. Roll each dough ball in the sugar, ensuring they are well-coated.
- Place the sugar-coated dough balls onto the prepared baking sheets, leaving about 2 inches of space between each. Use your thumb (or the back of a spoon) to gently press an indentation into the center of each cookie. Be sure to make a deep enough indentation to hold the jam, but avoid pressing the dough all the way through.
- Spoon about ¼ to ½ teaspoon of your favorite jam into the center of each dough ball. You can use raspberry, strawberry, apricot, or any other jam, jelly, or preserves of your choice. The jam should fill the indentation without overflowing.
- After filling the cookies, return the baking sheets to the refrigerator or freezer to chill for an additional 10 minutes. This helps the cookies maintain their shape while baking, and the jam will stay neatly in place during the baking process.
Conclusion
Thumbprint cookies are a versatile and timeless treat that anyone can make with ease. With their buttery texture and sweet jam filling, they’re perfect for any occasion. Whether you keep them simple or add a personal touch with decorations, these cookies are sure to delight. So, gather your ingredients, follow these steps, and enjoy the delicious results!