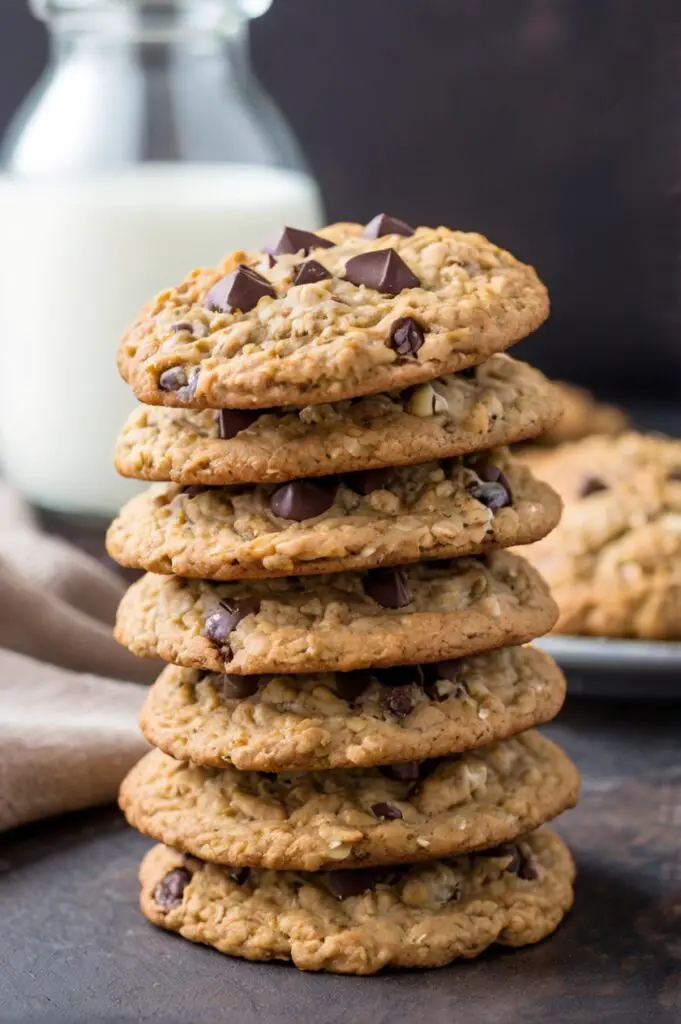
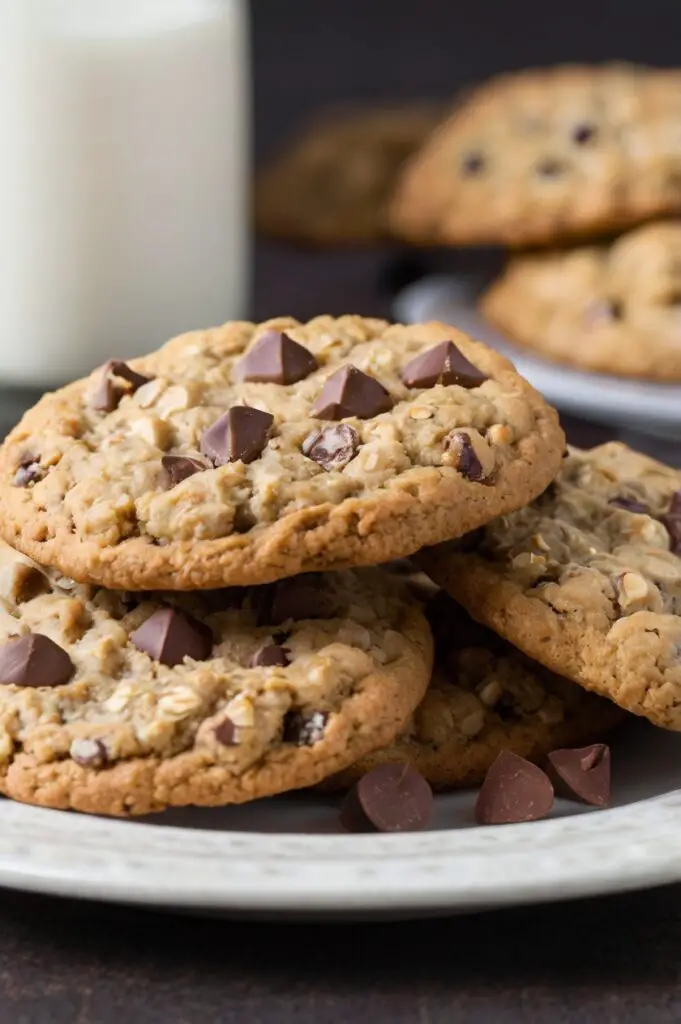
Craving something warm, chewy, and irresistibly sweet? My homemade Oatmeal Chocolate Chip Cookies are the perfect comfort treat you’ve been looking for.
These cookies combine the hearty texture of old-fashioned rolled oats with gooey chocolate chips and a rich, buttery base—making them an instant hit for family gatherings, lunchbox snacks, or cozy nights in.
Whether you’re a beginner baker or a cookie connoisseur, this recipe delivers chewy centers, crisp edges, and the kind of nostalgic flavor that never gets old. Plus, with a few easy tips, you’ll master the perfect batch every time.
Ingredients List
Wet Ingredients
- 1 cup (2 sticks) salted butter, softened at room temperature
- 1 ¼ cups packed light brown sugar
- ½ cup granulated sugar
- 2 large eggs, at room temperature
- 1 ½ teaspoons vanilla extract
- 1 tablespoon milk
Dry Ingredients
- 3 cups old-fashioned rolled oats
- 1 ½ cups all-purpose flour
- 1 teaspoon baking soda
- ½ teaspoon salt
- 2 cups chocolate chips (semi-sweet or milk, your choice)
Required Kitchen Tools
Baking these oatmeal chocolate chip cookies is simple, but having the right tools on hand makes all the difference. Here’s what you’ll need:
- Electric Mixer (hand or stand):
To cream the butter and sugars into a light, fluffy base. - Mixing Bowls:
One large bowl for wet ingredients and another for dry ingredients. - Measuring Cups and Spoons:
For accurate ingredient measurements and consistent results. - Rubber Spatula or Wooden Spoon:
Great for folding in oats and chocolate chips without overmixing. - Baking Sheets + Parchment Paper or Silicone Baking Mats:
To prevent sticking and ensure even baking. - Cookie Scoop (4-teaspoon size recommended):
For uniform cookie sizing, which helps with even baking. - Wire Cooling Racks:
To cool the cookies without overcooking from residual heat.
Dough Preparation
Mixing the Dough
To begin, I start by creaming together the softened butter, brown sugar, and granulated sugar in a large bowl using my electric mixer. This step is key—creaming the butter and sugar until light and fluffy (about 2–3 minutes) gives the cookies that soft, chewy texture we all love.
Next, I add the eggs one at a time, mixing well after each addition. Then I stir in the vanilla extract and milk. These liquids add richness and help bind the dough together.
Once the wet ingredients are well blended, I slowly mix in the rolled oats. This gives the cookie dough its signature heartiness and texture.
Combining Dry Ingredients
In a separate bowl, I whisk together the flour, baking soda, and salt. This dry mix is gradually added to the oat mixture, stirring until everything is just combined. Be careful not to overmix—this helps keep the cookies tender.
Finally, I fold in the chocolate chips. I prefer semi-sweet, but you can use milk chocolate or even dark chocolate chunks if you want a richer flavor.
Chilling the Dough
Before baking, I always chill the dough. This step is crucial for thick, chewy cookies that don’t spread too much in the oven.
I cover the bowl and refrigerate the dough for at least 1–2 hours, or up to 48 hours if I’m prepping ahead. When I take it out of the fridge, if the dough feels too stiff to scoop, I let it sit at room temperature for about 10–15 minutes until it softens slightly.
Baking the Cookies
Preheating and Scooping
Once the dough is properly chilled, I preheat my oven to 350°F (175°C) and line two baking sheets with parchment paper or silicone baking mats. This helps prevent sticking and ensures even browning.
Using a 4-teaspoon spring-loaded cookie scoop, I portion out the dough and place the cookie mounds about 2 inches apart on the prepared pans. Giving them room allows the cookies to spread just enough while keeping that thick, chewy center intact.
Baking Time and Texture
I bake the cookies for 10 to 12 minutes, or until the edges are lightly golden and just set. The centers will still look slightly underbaked—and that’s exactly what you want.
Here’s the trick: don’t overbake! The cookies continue to firm up as they cool on the pan, and that’s what gives them that irresistibly soft center with a lightly crisp edge.
After baking, I let them sit on the pan for 5 minutes, then transfer them to a wire rack to cool completely.
Pro Tips for Perfect Cookies
- Room Temperature Ingredients:
Make sure your butter and eggs are at room temp. This helps everything blend smoothly and evenly. - Chill Time Matters:
Chilling prevents excess spreading and gives the cookies a more intense, developed flavor. - Don’t Overmix:
Overmixing can lead to tough cookies. Once the flour is just incorporated, stop mixing. - Watch the Bake Time Closely:
Pull the cookies out as soon as the edges start to brown—the centers will finish setting as they cool.
Serving and Enjoying
Fresh out of the oven, these oatmeal chocolate chip cookies are at their absolute best—warm, gooey, and packed with flavor. I love serving them with a cold glass of milk, a hot cup of coffee, or even sandwiched around a scoop of vanilla ice cream for a next-level dessert.
These cookies also make fantastic gifts. Stack them in a glass jar, tie it with a ribbon, and you’ve got a thoughtful homemade treat everyone will appreciate.
Storage Instructions
How to Keep Cookies Fresh
To keep the cookies soft and chewy, I store them in an airtight container at room temperature for up to 5 days. I like to place a slice of bread in the container to help retain moisture—trust me, it works like magic!
If you’re storing a large batch, make sure the cookies are completely cooled before stacking to prevent sticking.
Freezing Baked Cookies
For longer storage, these cookies freeze beautifully. Here’s how I do it:
- Allow the baked cookies to cool completely.
- Place them in a single layer on a baking sheet and freeze until firm.
- Transfer the frozen cookies to a freezer-safe zip-top bag or airtight container.
They’ll stay fresh in the freezer for up to 3 months. To enjoy again, thaw at room temperature or pop them in a warm oven for 2–3 minutes.
Freezing the Cookie Dough
Want warm cookies on demand? Freeze the dough instead:
- Scoop the cookie dough into portions.
- Freeze on a baking sheet until solid.
- Store in a freezer bag and label with the date.
You can bake the frozen dough directly—just add 1–2 extra minutes to the baking time. No thawing required!
Oatmeal Chocolate Chip Cookies
Equipment
- Electric Mixer
- Mixing Bowls
- Measuring Cups and Spoons
- Rubber Spatula or Wooden Spoon
- Baking Sheets + Parchment Paper or Silicone Baking Mats
- Cookie Scoop (4-teaspoon size recommended)
- Wire Cooling Racks
Ingredients
Wet Ingredients
- 1 cup (2 sticks) salted butter, softened at room temperature
- 1 ¼ cups packed light brown sugar
- ½ cup granulated sugar
- 2 large eggs, at room temperature
- 1 ½ teaspoons vanilla extract
- 1 tablespoon milk
Dry Ingredients
- 3 cups old-fashioned rolled oats
- 1 ½ cups all-purpose flour
- 1 teaspoon baking soda
- ½ teaspoon salt
- 2 cups chocolate chips (semi-sweet or milk, your choice)
Instructions
Dough Preparation
- To begin, I start by creaming together the softened butter, brown sugar, and granulated sugar in a large bowl using my electric mixer. This step is key—creaming the butter and sugar until light and fluffy (about 2–3 minutes) gives the cookies that soft, chewy texture we all love.Next, I add the eggs one at a time, mixing well after each addition. Then I stir in the vanilla extract and milk. These liquids add richness and help bind the dough together.Once the wet ingredients are well blended, I slowly mix in the rolled oats. This gives the cookie dough its signature heartiness and texture.
- In a separate bowl, I whisk together the flour, baking soda, and salt. This dry mix is gradually added to the oat mixture, stirring until everything is just combined. Be careful not to overmix—this helps keep the cookies tender.Finally, I fold in the chocolate chips. I prefer semi-sweet, but you can use milk chocolate or even dark chocolate chunks if you want a richer flavor.
- Before baking, I always chill the dough. This step is crucial for thick, chewy cookies that don’t spread too much in the oven.I cover the bowl and refrigerate the dough for at least 1–2 hours, or up to 48 hours if I’m prepping ahead. When I take it out of the fridge, if the dough feels too stiff to scoop, I let it sit at room temperature for about 10–15 minutes until it softens slightly.
Baking the Cookies
- Once the dough is properly chilled, I preheat my oven to 350°F (175°C) and line two baking sheets with parchment paper or silicone baking mats. This helps prevent sticking and ensures even browning.Using a 4-teaspoon spring-loaded cookie scoop, I portion out the dough and place the cookie mounds about 2 inches apart on the prepared pans. Giving them room allows the cookies to spread just enough while keeping that thick, chewy center intact.
- I bake the cookies for 10 to 12 minutes, or until the edges are lightly golden and just set. The centers will still look slightly underbaked—and that’s exactly what you want.Here’s the trick: don’t overbake! The cookies continue to firm up as they cool on the pan, and that’s what gives them that irresistibly soft center with a lightly crisp edge.After baking, I let them sit on the pan for 5 minutes, then transfer them to a wire rack to cool completely.
Conclusion
These oatmeal chocolate chip cookies are everything a homemade cookie should be—chewy, hearty, chocolatey, and completely satisfying. Whether you bake a fresh batch today or keep dough stashed in the freezer for cookie cravings later, this recipe is one you’ll come back to again and again.
Now that you’ve got the full recipe, it’s your turn to bake up a storm! Trust me, once you taste one warm from the oven, you’ll never go back to store-bought again.

