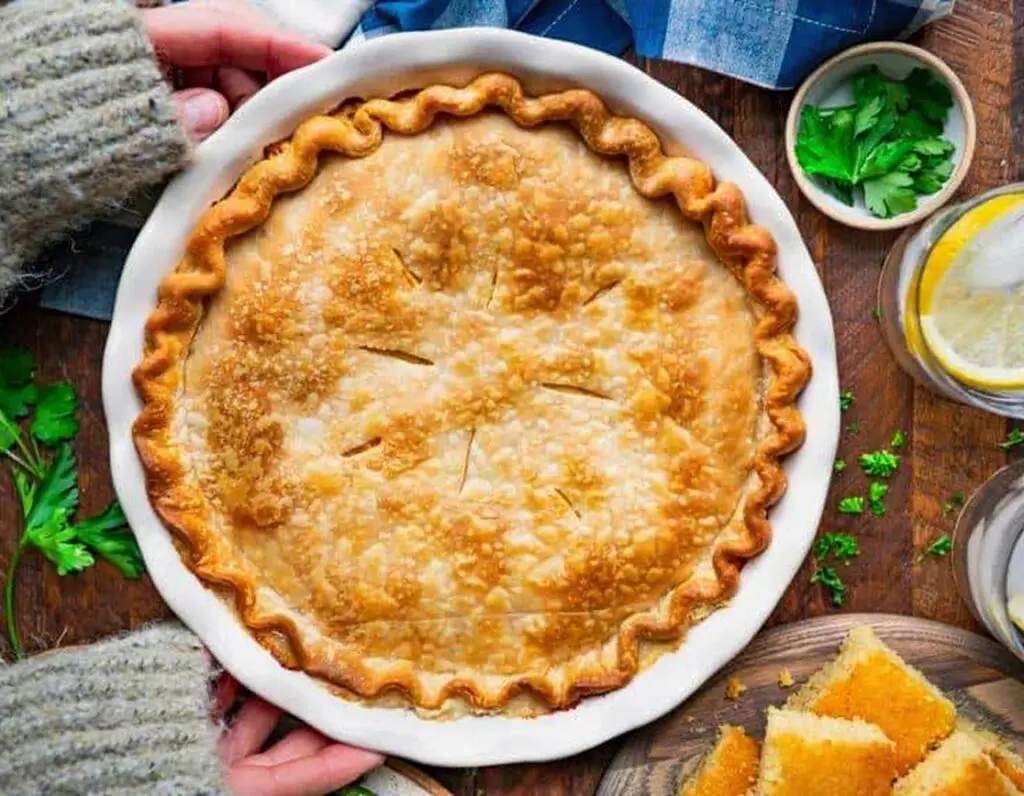
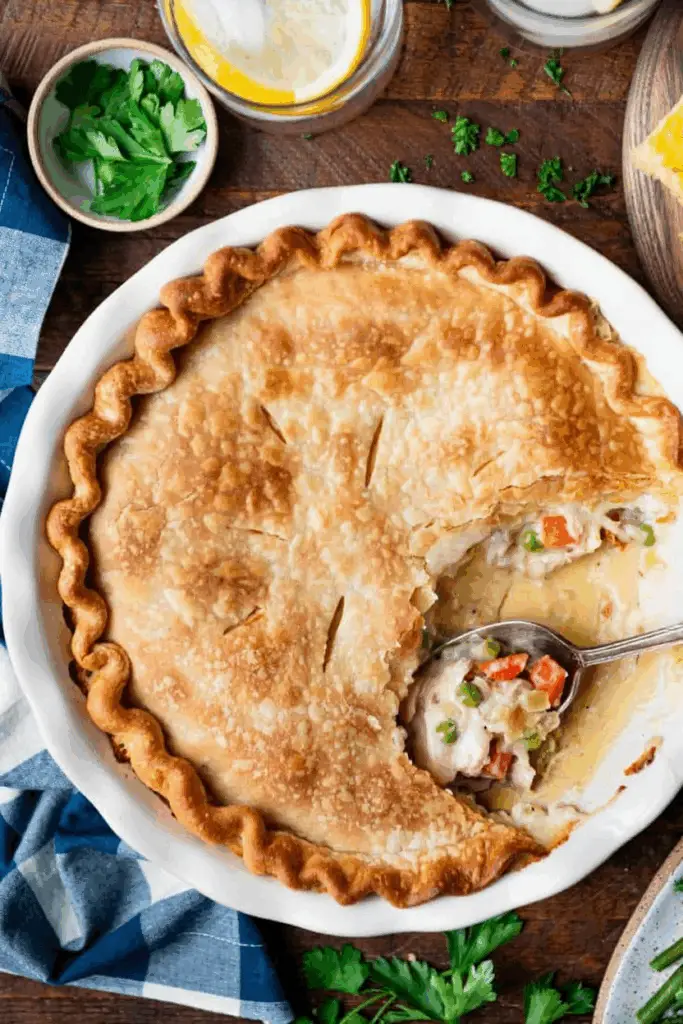
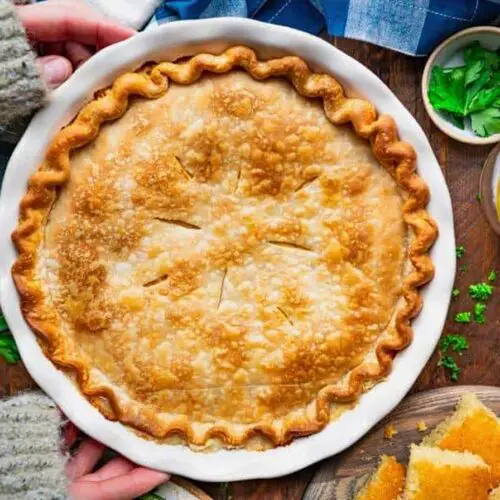
Craving cozy comfort food? Let me introduce you to the Easiest Chicken Pot Pie you’ll ever make.
It’s warm, creamy, and packed with tender chicken and hearty vegetables, all wrapped in a golden, flaky crust.

Whether you’re feeding your family on a busy weeknight or need a satisfying weekend meal, this recipe is a go-to favorite in my kitchen.
Plus, it uses simple pantry staples—and yes, we’re making it easy with a store-bought pie crust!
Ingredients List
Filling Ingredients
- 2 cups chicken broth
- 1 cup half-and-half (or substitute with heavy cream or whole milk)
- ⅓ cup salted butter
- 1 cup chopped onion
- 1 cup peeled and chopped carrots
- 1 cup chopped celery
- ½ cup all-purpose flour
- 1 teaspoon kosher salt
- ¼ teaspoon ground black pepper
- 4 cups chopped, cooked chicken (like from a store-bought rotisserie chicken)
- ½ cup frozen peas (no need to thaw)
Topping
- 1 refrigerated pie crust (from a 14.1-ounce box)
Required Kitchen Tools
When making chicken pot pie from scratch—or almost scratch—having the right tools will make the process quicker and more enjoyable. Here’s what I recommend:
- Large Skillet – To sauté your vegetables and build the creamy filling.
- Whisk – Essential for smooth, lump-free sauce-making.
- Mixing Bowls – For combining the broth and cream mixture ahead of time.
- Casserole Dish or Oven-Safe Skillet – A 2-quart deep-dish pie plate or casserole dish works perfectly for baking.
- Rolling Pin (Optional) – If your store-bought crust needs a little reshaping.
- Sharp Knife – To cut slits in the crust so the steam can escape.
- Measuring Cups and Spoons – For precision with your ingredients.
Having everything prepped and ready makes this pot pie come together in no time—and trust me, your house will smell amazing while it bakes.
Filling Preparation
The secret to a truly comforting chicken pot pie lies in the creamy, flavorful filling. Let me walk you through the process step by step—it’s easier than you might think!
Step 1: Preheat and Prep
First things first—preheat your oven to 400°F (200°C). Lightly grease a 2-quart casserole dish or a deep-dish pie plate. If you’re using an oven-safe skillet, you can cook and bake everything in the same pan (less cleanup!).
In a small mixing bowl, whisk together the chicken broth and half-and-half. This combo gives your filling that rich, velvety texture without being too heavy. Set it aside.
Step 2: Sauté the Veggies
In a large skillet over medium-high heat, melt ⅓ cup of salted butter. Once melted and bubbling slightly, add the onion, carrots, and celery. Sauté for about 10 minutes, stirring occasionally, until the vegetables are tender and fragrant.
This step builds the savory base of the filling, so take your time and let those veggies soften nicely.
Step 3: Add Flour to Thicken
Sprinkle in ½ cup of all-purpose flour and stir constantly for 1 more minute. This forms a roux, which is essential for thickening the sauce. It should coat the vegetables and absorb the butter without burning—just keep stirring.
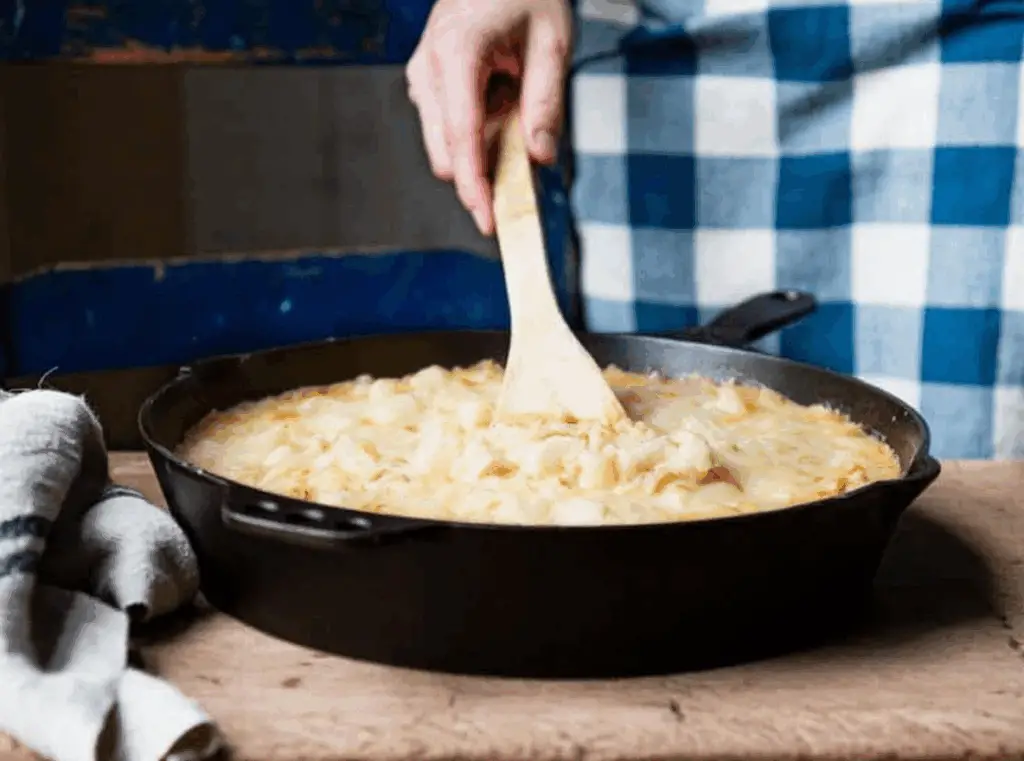
Step 4: Stir in the Liquid
Reduce the heat to medium and slowly pour in your broth and cream mixture, whisking continuously. This helps avoid lumps and ensures a silky consistency. Let it cook for 5 to 6 minutes, stirring often, until the mixture thickens. You’ll notice it turning into a creamy gravy—this is the heart of your pot pie.
Make sure it does not boil, or the dairy could curdle. Once thickened, season with 1 teaspoon kosher salt and ¼ teaspoon black pepper.
Step 5: Add Chicken and Peas
Now, stir in your cooked, chopped chicken and frozen peas. The residual heat will start warming them through while the filling stays perfectly thick and hearty.
At this point, your house already smells like a cozy hug—and we haven’t even baked it yet!
Assembling and Baking the Pot Pie
Once the creamy chicken filling is ready, it’s time to bring everything together. This is where your store-bought pie crust makes life so much easier—and still gives that golden, flaky finish everyone loves.
Step 1: Transfer the Filling
Carefully spoon or pour the warm filling into your greased casserole dish (or keep it in the oven-safe skillet if that’s what you’re using). Use a spatula to smooth out the surface evenly.
Step 2: Add the Crust
Unroll the refrigerated pie crust and gently lay it over the top of the filling. If it doesn’t quite fit, you can roll it out a bit on a floured surface or just press and shape it to fit the edges of your dish.
Seal the edges of the crust against the rim of the dish by gently pinching or fluting them with your fingers. Then, using a sharp knife, cut a few small slits in the top. These allow steam to escape while baking and prevent the crust from getting soggy underneath.
Step 3: Bake Until Golden
Place the dish in your preheated 400°F oven and bake for 35 to 40 minutes, or until the crust is beautifully golden brown. You may see some bubbling at the edges—that’s a good sign!
If the crust edges begin to brown too quickly, you can loosely cover them with foil about halfway through baking.
Step 4: Let It Rest
Once out of the oven, allow the pot pie to rest for 10–15 minutes before serving. This gives the filling time to set slightly and makes serving much easier. Plus, it cools just enough to avoid those first-bite burns.
Serving and Storage
How to Serve Chicken Pot Pie
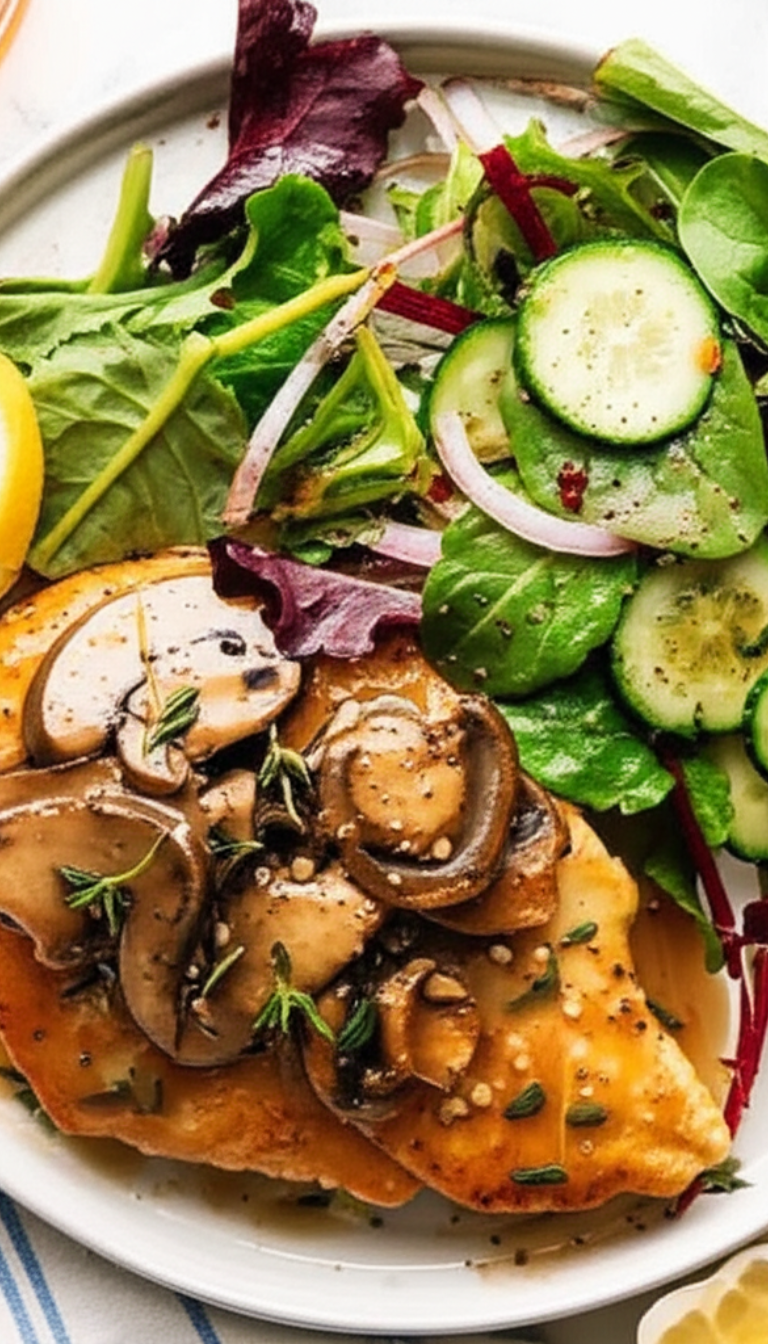
When it comes to serving this classic dish, I like to scoop generous portions straight from the dish onto warm plates. The rich filling paired with that flaky, buttery crust is pure comfort in every bite. Pair it with a crisp green salad or some roasted vegetables if you want to round out the meal, but honestly—it’s hearty enough to stand on its own.
This recipe makes about 6 servings, making it perfect for a small family dinner or meal prepping for the week.
Storing Leftovers
Got leftovers? Lucky you.
- Refrigerator: Store cooled leftovers in an airtight container in the fridge for up to 3 days. The crust will soften a bit, but the flavor remains delicious.
- Reheating: Reheat individual portions in the microwave for about 1–2 minutes, or reheat in the oven at 350°F for 15–20 minutes to keep the crust crisp.
Can You Freeze Chicken Pot Pie?
Yes! You can freeze the unbaked pot pie for a make-ahead meal. Just assemble it up to the crust stage, cover tightly with plastic wrap and foil, and freeze for up to 3 months. When ready to bake, do not thaw—just pop it in the oven straight from the freezer and bake at 400°F for about 1 hour, covering the crust edges if needed to prevent over-browning.
Easiest Chicken Pot Pie
Equipment
- Large Skillet
- Whisk
- Mixing Bowls
- Casserole Dish or Oven-Safe Skillet
- Rolling Pin (Optional)
- Sharp Knife
- Measuring Cups and Spoons
Ingredients
Filling Ingredients
- 2 cups chicken broth
- 1 cup half-and-half (or substitute with heavy cream or whole milk)
- ⅓ cup salted butter
- 1 cup chopped onion
- 1 cup peeled and chopped carrots
- 1 cup chopped celery
- ½ cup all-purpose flour
- 1 teaspoon kosher salt
- ¼ teaspoon ground black pepper
- 4 cups chopped, cooked chicken (like from a store-bought rotisserie chicken)
- ½ cup frozen peas (no need to thaw)
Instructions
Filling Preparation
- First things first—preheat your oven to 400°F (200°C). Lightly grease a 2-quart casserole dish or a deep-dish pie plate. If you're using an oven-safe skillet, you can cook and bake everything in the same pan (less cleanup!).In a small mixing bowl, whisk together the chicken broth and half-and-half. This combo gives your filling that rich, velvety texture without being too heavy. Set it aside.
- In a large skillet over medium-high heat, melt ⅓ cup of salted butter. Once melted and bubbling slightly, add the onion, carrots, and celery. Sauté for about 10 minutes, stirring occasionally, until the vegetables are tender and fragrant.
- Sprinkle in ½ cup of all-purpose flour and stir constantly for 1 more minute. This forms a roux, which is essential for thickening the sauce. It should coat the vegetables and absorb the butter without burning—just keep stirring.
- Reduce the heat to medium and slowly pour in your broth and cream mixture, whisking continuously. This helps avoid lumps and ensures a silky consistency. Let it cook for 5 to 6 minutes, stirring often, until the mixture thickens. You’ll notice it turning into a creamy gravy—this is the heart of your pot pie.Make sure it does not boil, or the dairy could curdle. Once thickened, season with 1 teaspoon kosher salt and ¼ teaspoon black pepper.
- Now, stir in your cooked, chopped chicken and frozen peas. The residual heat will start warming them through while the filling stays perfectly thick and hearty.
Assembling and Baking the Pot Pie
- Carefully spoon or pour the warm filling into your greased casserole dish (or keep it in the oven-safe skillet if that’s what you're using). Use a spatula to smooth out the surface evenly.
- Unroll the refrigerated pie crust and gently lay it over the top of the filling. If it doesn’t quite fit, you can roll it out a bit on a floured surface or just press and shape it to fit the edges of your dish.
- Place the dish in your preheated 400°F oven and bake for 35 to 40 minutes, or until the crust is beautifully golden brown. You may see some bubbling at the edges—that’s a good sign!
- Once out of the oven, allow the pot pie to rest for 10–15 minutes before serving. This gives the filling time to set slightly and makes serving much easier. Plus, it cools just enough to avoid those first-bite burns.
Conclusion
There you have it—my go-to recipe for the Easiest Chicken Pot Pie. With a creamy, savory filling and a flaky crust, it’s everything a comfort food classic should be, but without the fuss. Whether you’re using up leftover chicken or picking up a rotisserie bird from the store, this shortcut version delivers all the flavor with minimal effort.
So the next time you’re craving something warm, hearty, and homey, skip the frozen aisle and make this pot pie from scratch(ish). Trust me—it’s worth every bite.