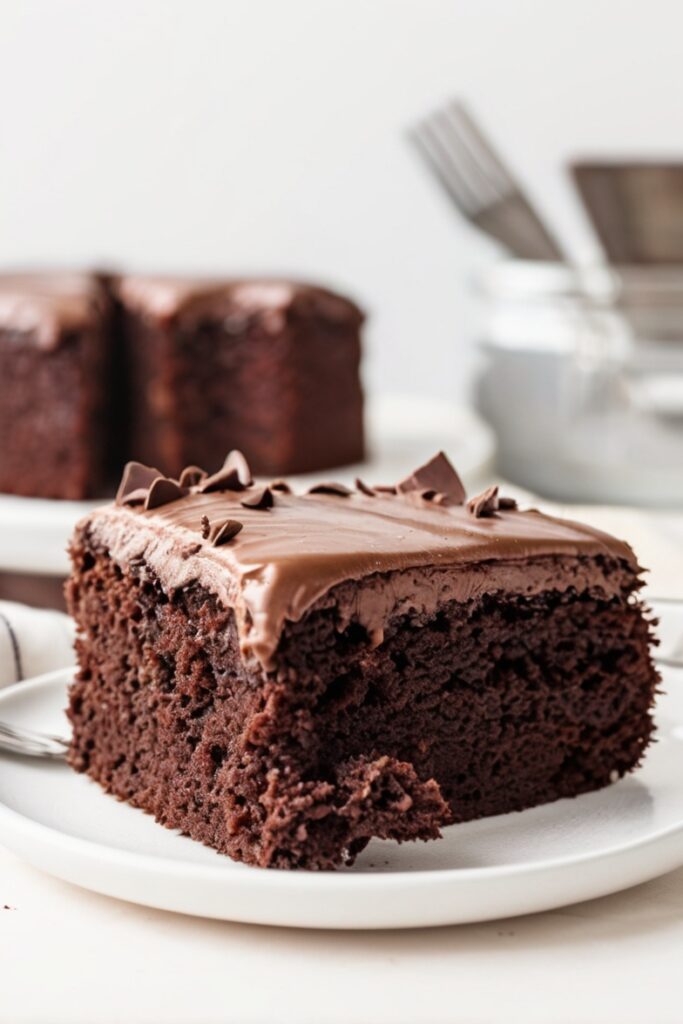
Craving a rich, moist, and intensely chocolatey cake that’s incredibly easy to whip up? Let me introduce you to my One Bowl Buttermilk Chocolate Cake—a foolproof recipe that delivers decadent results with minimal cleanup.
Whether you’re baking for a special occasion or just need a midweek dessert fix, this cake is the perfect solution.
It’s made with pantry staples, comes together in a single bowl, and is topped with a glossy, luscious chocolate buttermilk icing that sets like a dream.
Ingredients List
For the Cake
- 2 cups all-purpose flour
- 2 cups granulated sugar
- ½ cup unsweetened cocoa powder
- 2 teaspoons baking soda
- 1 teaspoon baking powder
- ½ teaspoon salt
- 2 large eggs (room temperature)
- 1 cup vegetable oil
- 1 cup whole buttermilk, shaken
- 1 cup hot water
For the Chocolate Buttermilk Icing
- ½ cup (1 stick) salted butter
- ⅔ cup unsweetened cocoa powder
- 3 cups confectioners’ sugar, sifted
- ⅓ cup whole buttermilk, shaken
- 1 teaspoon vanilla extract
Required Kitchen Tools
To make this cake as easily and efficiently as possible, I recommend having the following tools ready:
- Large Mixing Bowl – Since this is a one-bowl recipe, your main mixing bowl does all the heavy lifting.
- Whisk or Hand Mixer – A strong whisk will get the job done, but a hand mixer makes the batter ultra smooth in seconds.
- Measuring Cups and Spoons – For precise measurement of dry and wet ingredients.
- 9×13-inch Baking Pan – This size works perfectly for even baking and generous servings.
- Saucepan – Used for preparing the chocolate buttermilk icing.
- Rubber Spatula or Offset Spreader – Ideal for spreading the icing evenly across the cooled cake.
- Toothpick – A simple tool to test if your cake is perfectly baked.
Cake Preparation
Mixing the Ingredients
This cake couldn’t be easier to make—everything comes together in a single bowl, making it a go-to recipe when I need something quick but indulgent.
Start by preheating your oven to 350°F (175°C). Grease and flour a 9 x 13-inch baking pan, or line it with parchment paper if you prefer easy cleanup.
In a large mixing bowl, whisk together the dry ingredients:
- 2 cups all-purpose flour
- 2 cups granulated sugar
- ½ cup unsweetened cocoa powder
- 2 teaspoons baking soda
- 1 teaspoon baking powder
- ½ teaspoon salt
Once those are combined, add in the wet ingredients:
- 2 large eggs
- 1 cup vegetable oil
- 1 cup whole buttermilk (make sure it’s shaken)
Whisk everything together until just combined. Then, carefully pour in 1 cup of hot water and whisk again until the batter is completely smooth and well incorporated. The hot water helps bloom the cocoa, enhancing the chocolate flavor and giving the cake a tender, moist crumb.
Pouring and Baking
Pour the batter into your prepared pan and tap it gently on the counter to release any air bubbles. Bake the cake for 30 to 35 minutes, or until a toothpick inserted into the center comes out clean.
Tip: Start checking the cake at the 30-minute mark. Every oven is different, and overbaking can lead to a dry cake.
Once done, remove the cake from the oven and let it cool completely in the pan on a wire rack before icing. This step is crucial—if you ice the cake while it’s warm, the frosting will melt and slide off.
Chocolate Buttermilk Icing
Making the Icing
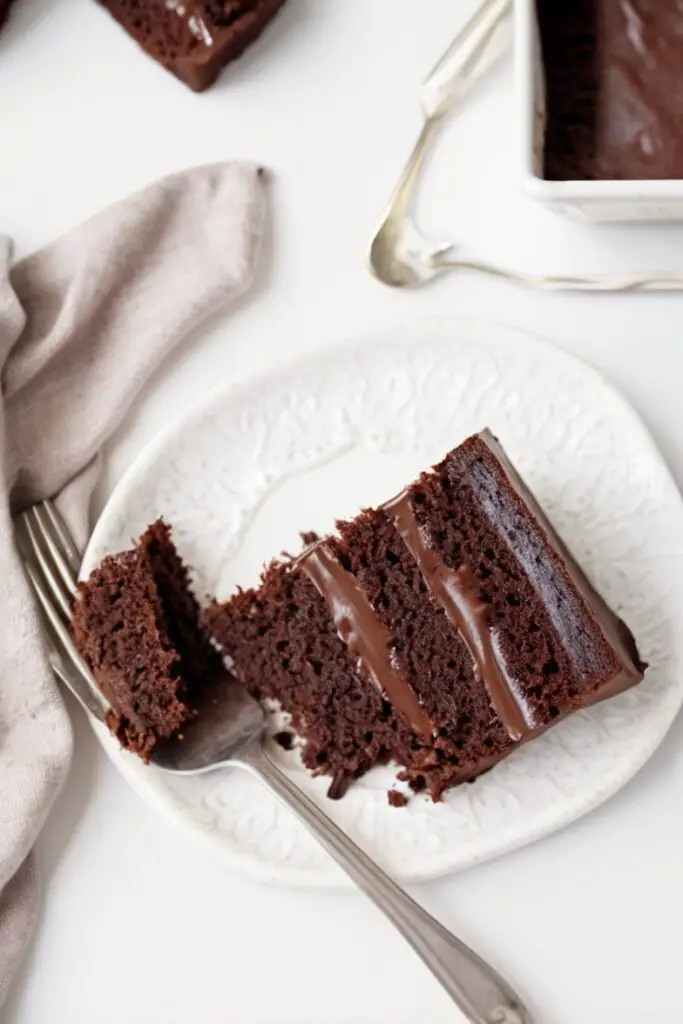
This icing is my favorite part—it’s creamy, chocolatey, and just the right amount of sweet. It sets beautifully on the cake, giving you that perfect slice every time.
To start, melt ½ cup (1 stick) of salted butter in a medium saucepan over medium-low heat. Once melted, whisk in ⅔ cup of unsweetened cocoa powder. Let it cook gently for about 2 minutes, stirring constantly. Be careful not to let it boil—low and slow is key for a smooth, glossy finish.
Next, remove the pan from the heat and gradually whisk in the following:
- 3 cups sifted confectioners’ sugar
- ⅓ cup whole buttermilk
- 1 teaspoon vanilla extract
Whisk until everything is fully combined and the icing is smooth and spreadable. If it’s too thick, add more buttermilk one tablespoon at a time until it reaches your desired consistency.
Frosting the Cake
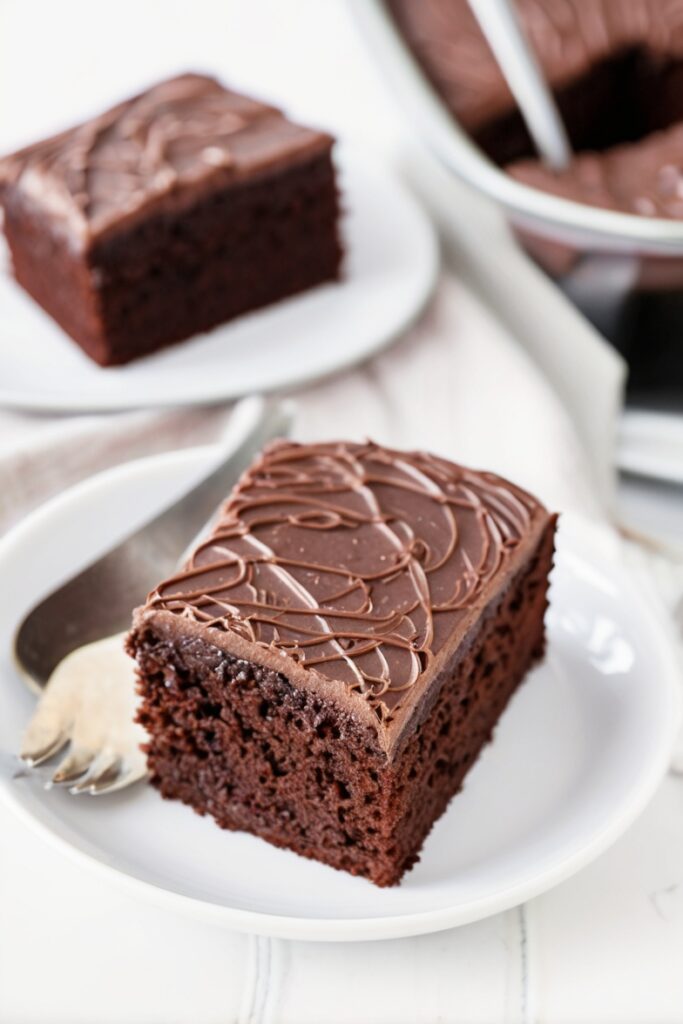
Once your cake is completely cool, pour the warm icing over the top. I like to use an offset spatula or a rubber spatula to spread it evenly, reaching all the way to the edges.
Give the icing about 20–30 minutes to cool and set before slicing. This makes it easier to cut clean pieces and ensures the icing holds its shape.
Serving and Storage
How to Serve
This cake is pure comfort—moist, fudgy, and rich with a soft crumb that practically melts in your mouth. It’s perfect as-is, but if you want to dress it up, try topping each slice with:
- A dollop of whipped cream
- Fresh berries like raspberries or strawberries
- A scoop of vanilla ice cream
- A sprinkle of mini chocolate chips or shaved chocolate
Whether it’s a casual weeknight dessert or the star of your next celebration, this cake delivers every time.
Storing the Cake
If you’re lucky enough to have leftovers, you’ll be glad to know this cake stores beautifully:
- At room temperature: Cover tightly with plastic wrap or store in an airtight container. It stays moist and delicious for up to 3 days.
- In the refrigerator: This extends the shelf life to about 5 days, though be sure to bring it to room temp before serving for the best texture.
- Freezing: You can freeze the cake (whole or in slices). Wrap in plastic and then foil, and store in a freezer-safe bag or container. It will keep for up to 1 month. Thaw overnight in the fridge and let it come to room temp before enjoying.
Final Tips for Perfect Results
- Use full-fat buttermilk for the best flavor and texture. Low-fat versions just don’t compare.
- Room temperature ingredients help everything mix evenly and prevent over-mixing, which can toughen the cake.
- Don’t skip sifting the confectioners’ sugar—it guarantees a smooth, lump-free icing.
- Make it ahead: The flavors deepen over time. I often bake this cake the day before I plan to serve it, and it’s even better the next day.

One Bowl Buttermilk Chocolate Cake
Equipment
- Large Mixing Bowl
- Whisk or Hand Mixer
- Measuring Cups and Spoons
- 9×13 Inch Baking Pan
- Saucepan
- Rubber Spatula or Offset Spreader
- Toothpick
Ingredients
For the Cake
- 2 cups all-purpose flour
- 2 cups granulated sugar
- ½ cup unsweetened cocoa powder
- 2 teaspoons baking soda
- 1 teaspoons baking powder
- ½ teaspoons salt
- 2 large eggs (room temperature)
- 1 cup vegetable oil
- 1 cup whole buttermilk, shaken
- 1 cup hot water
For the Chocolate Buttermilk Icing
- ½ cup (1 stick) salted butter
- ⅔ cup unsweetened cocoa powder
- 3 cups confectioners’ sugar, sifted
- ⅓ cup whole buttermilk, shaken
- 1 teaspoon vanilla extract
Instructions
Cake Preparation
- This cake couldn’t be easier to make—everything comes together in a single bowl, making it a go-to recipe when I need something quick but indulgent.Start by preheating your oven to 350°F (175°C). Grease and flour a 9 x 13-inch baking pan, or line it with parchment paper if you prefer easy cleanup.In a large mixing bowl, whisk together the dry ingredients:Once those are combined, add in the wet ingredients:Whisk everything together until just combined. Then, carefully pour in 1 cup of hot water and whisk again until the batter is completely smooth and well incorporated. The hot water helps bloom the cocoa, enhancing the chocolate flavor and giving the c2 cups all-purpose flour2 cups granulated sugar½ cup unsweetened cocoa powder2 teaspoons baking soda1 teaspoon baking powder½ teaspoon salt2 large eggs1 cup vegetable oil1 cup whole buttermilk (make sure it’s shaken)
- Pour the batter into your prepared pan and tap it gently on the counter to release any air bubbles. Bake the cake for 30 to 35 minutes, or until a toothpick inserted into the center comes out clean.Tip: Start checking the cake at the 30-minute mark. Every oven is different, and overbaking can lead to a dry cake.
- Once your cake is completely cool, pour the warm icing over the top. I like to use an offset spatula or a rubber spatula to spread it evenly, reaching all the way to the edges.Give the icing about 20–30 minutes to cool and set before slicing. This makes it easier to cut clean pieces and ensures the icing holds its shape.
Conclusion
This One Bowl Buttermilk Chocolate Cake is proof that simple baking can be seriously satisfying. With just a few basic ingredients and a single mixing bowl, you get a rich, chocolatey treat that’s always a crowd-pleaser. Whether you’re a beginner baker or a seasoned pro, this recipe deserves a permanent place in your dessert rotation. So preheat that oven, grab your whisk, and let’s make something unforgettable—one bowl at a time.