Craving something sweet, creamy, and totally effortless? Let me introduce you to one of my favorite no-bake desserts: Ice Cream Sandwich Cake.
This crowd-pleasing treat layers soft, chewy ice cream sandwiches with fluffy whipped topping, rich chocolate and caramel drizzle, and your favorite candy toppings.

It’s the perfect solution for birthdays, backyard BBQs, or anytime you need a cool treat on a hot day.
The best part? No oven, no complicated steps—just simple ingredients and a freezer. Whether you’re feeding a crowd or just want something fun and nostalgic, this frozen cake brings back childhood memories and satisfies every sweet tooth.
Let’s start with what you’ll need to make this chilled masterpiece.
Ingredients List
Here are the simple ingredients that come together to create this dreamy dessert:
- 24 ice cream sandwiches
- 16 ounces frozen whipped topping (such as Cool Whip), thawed in the refrigerator
- Chocolate syrup
- Caramel syrup
- Toppings of your choice, such as:
- Mini M&M’s
- Sprinkles
- Crushed Oreo cookies
- Toffee bits
- Chopped nuts
- Chopped candy bars
- Chocolate chips
Feel free to mix and match your toppings—this cake is endlessly customizable and always delicious!
Required Kitchen Tools
Making this cake is super easy, and you don’t need any fancy tools. Here’s what I recommend having on hand:
- 9×13-inch Deep Baking Dish – The deeper, the better. A lasagna pan works perfectly for those thick layers.
- Offset Spatula or Spoon – To help spread the whipped topping smoothly.
- Sharp Knife – For cutting the cake into neat squares after freezing.
- Freezer Space – Make sure you’ve cleared a flat spot where the dish can sit undisturbed while it firms up.
- Plastic Wrap or Lid – To cover the cake while it chills, keeping it fresh and protected from freezer odors.
Having these tools ready will make assembling and serving your Ice Cream Sandwich Cake a breeze.
How to Make Ice Cream Sandwich Cake: Step-by-Step Instructions
Creating this no-bake wonder is as easy as layering and freezing. Trust me—if you can open a box and spread whipped topping, you can make this cake. Here’s how I do it:
Step 1: Create the First Ice Cream Sandwich Layer
Start by unwrapping 12 ice cream sandwiches and placing them snugly in the bottom of a 9×13-inch baking dish. You may need to trim or cut one in half to make everything fit just right.
Step 2: Add the First Whipped Topping Layer
Spread half of the thawed whipped topping over the ice cream sandwich layer. Use an offset spatula or the back of a spoon to smooth it out evenly, all the way to the edges.
Step 3: Drizzle and Sprinkle
Now for the fun part! Drizzle chocolate syrup and caramel syrup generously over the whipped topping. Then add your first round of toppings—anything from crushed cookies to candy bits. I personally love using mini M&Ms and crushed Oreos for a colorful crunch.
Step 4: Repeat the Layers
Place the remaining 12 ice cream sandwiches on top of the first layer. Again, trim to fit if necessary. Then spread the remaining whipped topping evenly over the top.
Step 5: Finish with More Toppings
To finish, drizzle more chocolate and caramel syrup over the top layer and sprinkle with your final selection of toppings. Make it look fun, colorful, and mouthwateringly irresistible.
Step 6: Freeze to Set
Place the entire cake in the freezer for 1–2 hours, or even overnight if you’re prepping ahead. This will give the layers time to firm up so you can slice the cake cleanly.
Serving Suggestions and Decoration Ideas
Once your Ice Cream Sandwich Cake is frozen and ready, it’s time to slice, serve, and wow your guests! Here are my favorite tips for serving and decorating this fun frozen treat.
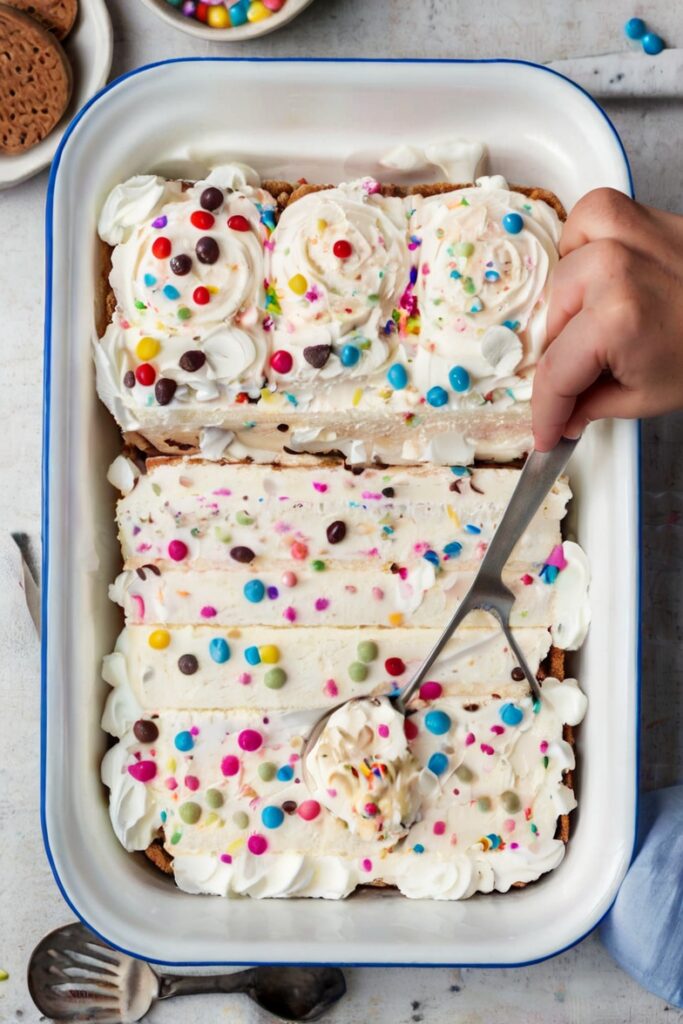
How to Slice and Serve Like a Pro
Remove the cake from the freezer about 5–10 minutes before serving to make slicing easier. Use a sharp knife dipped in warm water (and wiped dry) to cut through the layers cleanly. Wipe the knife between slices for neat, bakery-style squares.
Topping Ideas That Take It Over the Top
This cake is a blank canvas for creativity. Whether you’re making it for a kids’ party, holiday gathering, or casual BBQ, the right toppings can make it match any occasion. Try these:
- Birthday Bash: Use rainbow sprinkles, mini marshmallows, and chopped candy bars like Snickers or Milky Way.
- Chocolate Lover’s Dream: Add chocolate chips, crushed Oreos, and a double drizzle of fudge sauce.
- Nutty Crunch: Chopped pecans, walnuts, or toffee bits bring a sweet-and-salty vibe.
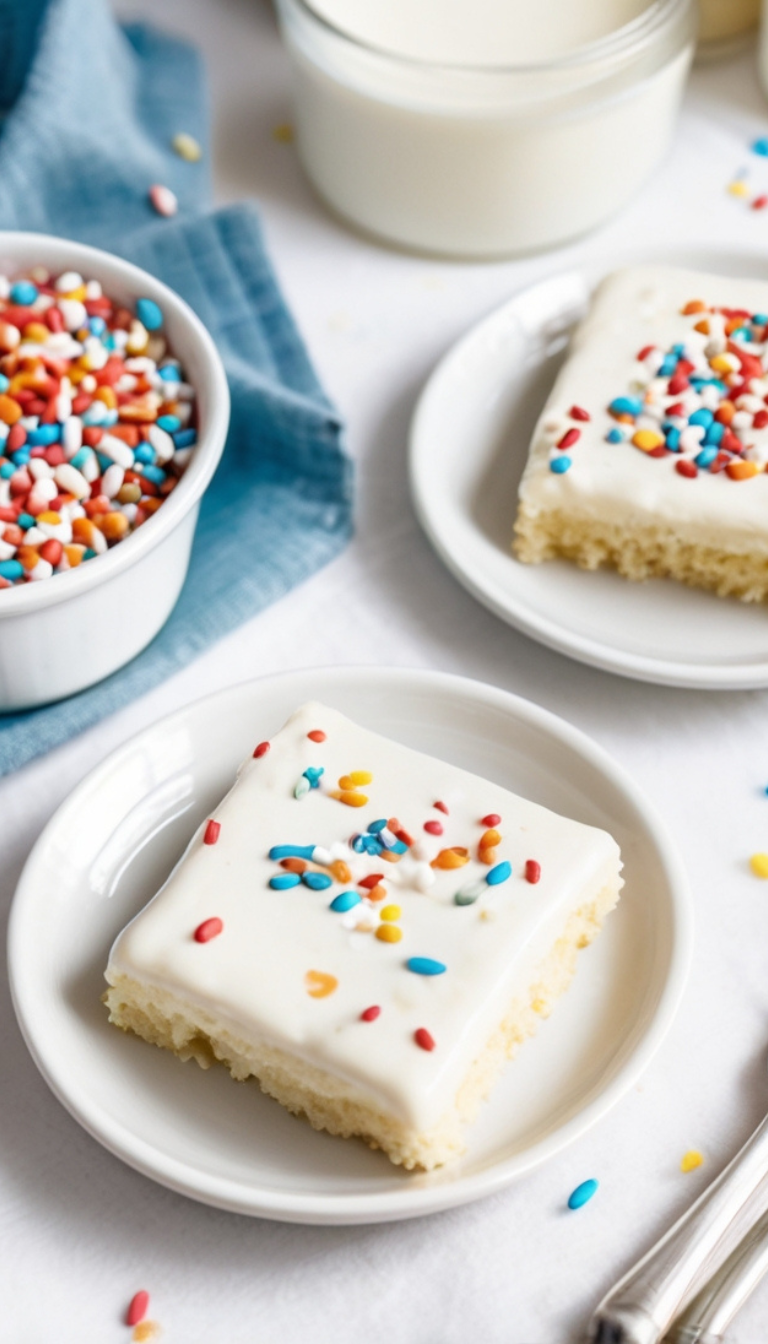
- Holiday Twist: Red and green M&Ms for Christmas, or pastel sprinkles for Easter.
Don’t be afraid to get creative! Let your toppings reflect the mood and theme of your event.
Make It a Layered Masterpiece
If you’re using a deeper dish and want to go extra indulgent, consider adding a third layer! Just repeat the layering process one more time for an ultra-tall cake that’ll impress everyone.

How to Store Ice Cream Sandwich Cake
To keep your Ice Cream Sandwich Cake fresh and ready to enjoy:
- Cover tightly with plastic wrap or use an airtight lid if your pan has one.
- Store the cake in the freezer for up to 1 week.
- For best results, let the cake sit at room temperature for 5 minutes before slicing, just to soften slightly for cleaner cuts.

Ice Cream Sandwich Cake
Equipment
- 9×13-inch Deep Baking Dish
- Offset Spatula or Spoon
- Sharp Knife
- Freezer Space
- Plastic Wrap or Lid
Ingredients
- 24 ice cream sandwiches
- 16 ounces frozen whipped topping (such as Cool Whip), thawed in the refrigerator
- Chocolate syrup
- Caramel syrup
- Toppings of your choice, such as:Mini M&M’s,Sprinkles,Crushed Oreo cookies,Toffee bits,Chopped nuts,Chopped candy bars,Chocolate chips
Instructions
How to Make Ice Cream Sandwich Cake:
- Start by unwrapping 12 ice cream sandwiches and placing them snugly in the bottom of a 9×13-inch baking dish. You may need to trim or cut one in half to make everything fit just right.
- Spread half of the thawed whipped topping over the ice cream sandwich layer. Use an offset spatula or the back of a spoon to smooth it out evenly, all the way to the edges.
- Now for the fun part! Drizzle chocolate syrup and caramel syrup generously over the whipped topping. Then add your first round of toppings—anything from crushed cookies to candy bits. I personally love using mini M&Ms and crushed Oreos for a colorful crunch.
- Place the remaining 12 ice cream sandwiches on top of the first layer. Again, trim to fit if necessary. Then spread the remaining whipped topping evenly over the top.
- To finish, drizzle more chocolate and caramel syrup over the top layer and sprinkle with your final selection of toppings. Make it look fun, colorful, and mouthwateringly irresistible.
- Place the entire cake in the freezer for 1–2 hours, or even overnight if you're prepping ahead. This will give the layers time to firm up so you can slice the cake cleanly.
Conclusion
Whether you’re new to baking or just want a no-fuss frozen dessert, this Ice Cream Sandwich Cake is a must-try. With simple ingredients, endless topping combinations, and absolutely zero oven time, it’s the kind of recipe you’ll come back to all summer long.
It’s kid-approved, party-perfect, and ridiculously easy to throw together—plus, it looks like you put in way more effort than you actually did. If you ask me, that’s dessert magic.
So go ahead, give this recipe a try and make it your own. You might just find it becomes your new go-to frozen treat!