If you’re craving a muffin that’s both healthy and satisfying, look no further than this Best Bran Muffin Recipe. Packed with fiber and flavor, these muffins are the perfect way to fuel your morning or enjoy a snack any time of the day.
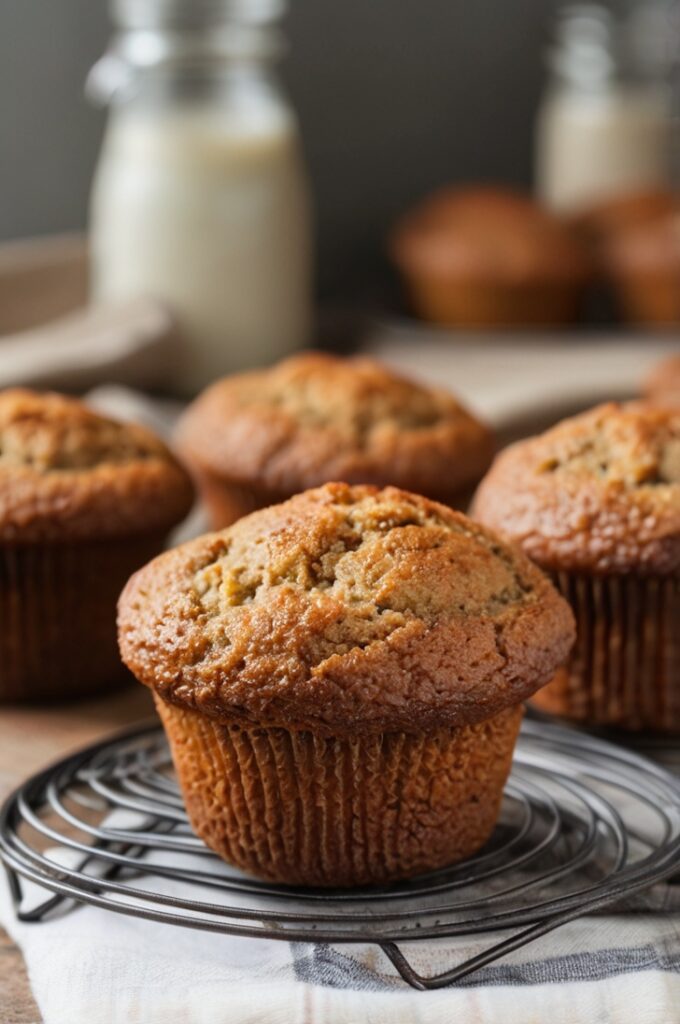
The combination of All-Bran Original cereal, sour cream, and molasses creates a wonderfully moist and tender muffin, while the optional addition of raisins or dried cranberries gives a sweet burst of flavor in every bite.
Whether you’re a fan of hearty, wholesome baked goods or simply looking for a nutritious alternative to your usual muffin, these bran muffins are sure to hit the spot.
With a balance of richness from the sour cream and a subtle sweetness from brown sugar and molasses, these muffins offer the perfect mix of flavors. Ready to try them out? Let’s get started!
Ingredients List
To make the best bran muffins, you’ll need these simple ingredients that come together to create the perfect texture and taste:
- 2 ¼ cups All-Bran Original cereal (divided)
- 1 ¾ cups all-purpose flour
- 2 teaspoons baking soda
- ½ teaspoon salt
- 1 ¾ cups sour cream (at room temperature)
- 6 tablespoons vegetable oil
- 2 large eggs (room temperature)
- ⅔ cup packed light brown sugar
- 3 tablespoons molasses or sorghum
- 1 teaspoon vanilla extract
- 1 cup raisins, dried cranberries, or dried cherries (optional)
Required Kitchen Tools
Before we dive into the recipe, let’s make sure you have the right tools on hand. Here’s what you’ll need to make these perfect bran muffins:
- Food Processor or Rolling Pin: To finely grind half of the All-Bran cereal.
- Mixing Bowls: For combining dry and wet ingredients.
- Whisk: For whisking the wet ingredients and the dry ingredients separately.
- Muffin Tin: Either grease your muffin tin or use paper liners.
- Toothpick: To test the muffins for doneness.
- Cooling Rack: To let your freshly baked muffins cool down properly.
With these tools, you’re all set for a smooth and easy baking experience!
Preparing the Bran Muffin Batter
Now that we have everything ready, let’s get started on making these delicious bran muffins. The process is simple and straightforward, but be sure to follow the steps carefully to ensure your muffins turn out light, fluffy, and full of flavor.
Step 1: Process the All-Bran Cereal
The first step is to break down half of the All-Bran Original cereal to give your muffins a smoother texture. You can do this by placing half of the cereal in a food processor and processing it until finely ground. If you don’t have a food processor, simply put the cereal in a large Ziploc bag and use a rolling pin or meat mallet to crush it into fine crumbs. This step is important because it helps the bran blend better into the batter.
Step 2: Combine the Dry Ingredients
In a large bowl, whisk together the dry ingredients: flour, baking soda, and salt. This will ensure that the baking soda is evenly distributed throughout the flour, which is crucial for even leavening. Once everything is well combined, set the bowl aside.
Step 3: Mix the Wet Ingredients
In a separate bowl, whisk together the sour cream, vegetable oil, eggs, brown sugar, molasses, and vanilla extract. The sour cream helps keep the muffins moist, while the molasses adds a rich depth of flavor. Whisk everything until smooth and fully combined.
Step 4: Combine Wet and Dry Ingredients
Next, add the wet ingredients to the dry ingredients, and stir gently until just combined. Be careful not to overmix the batter! Overmixing can activate the gluten in the flour and result in dense, tough muffins. You want the batter to be slightly lumpy—this is normal and will ensure light and airy muffins.
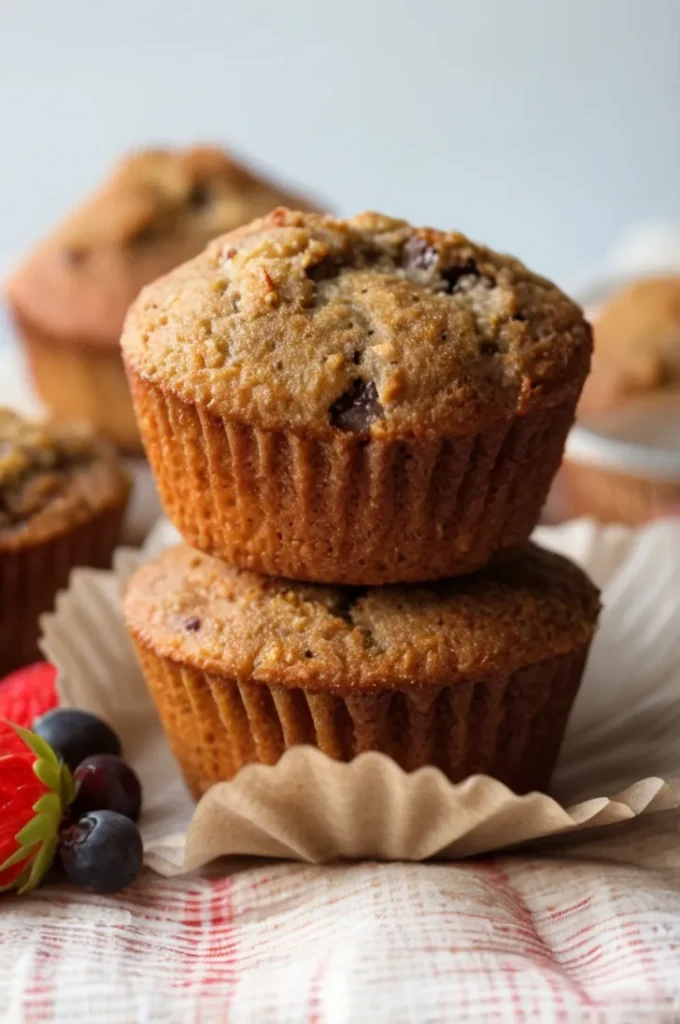
Step 5: Fold in the Optional Add-ins
If you’re using raisins, dried cranberries, or dried cherries, gently fold them into the batter at this point. These add-ins bring a burst of sweetness and texture to your muffins, but if you prefer a more traditional bran muffin, you can skip them entirely. It’s totally up to you!
Baking and Cooling Your Bran Muffins
You’re almost there! With your muffin batter ready, it’s time to get those muffins into the oven and start baking. The next steps will guide you on how to fill your muffin tins and bake your bran muffins to golden perfection.

Step 6: Prepare the Muffin Tin
Before you start filling the muffin tin, make sure it’s ready. Grease your muffin tin generously or line it with paper muffin cups. This will help prevent the muffins from sticking and make cleanup a breeze. I recommend using paper liners if you want an easy way to remove the muffins from the tin without any mess.
Step 7: Fill the Muffin Cups
Spoon the muffin batter into the prepared muffin cups, filling each one all the way to the top. Don’t be afraid to fill them generously, as the muffins will rise during baking, giving them a nice, dome-like shape. The batter should be thick, so you’ll need to use a spoon to drop it in without spilling.
Step 8: Bake the Muffins
Now, it’s time to bake! Place the muffin tin in the preheated oven and bake at 400°F for 16 to 20 minutes. To check for doneness, insert a toothpick into the center of one of the muffins. If it comes out clean or with just a few moist crumbs, they’re done. If not, give them a few more minutes.
Step 9: Cool the Muffins
Once baked, allow the muffins to cool in the tin for about 5 minutes. This short resting time makes it easier to remove the muffins without them falling apart. After 5 minutes, transfer the muffins to a wire cooling rack to cool completely. This step helps prevent sogginess and ensures the muffins remain fluffy.
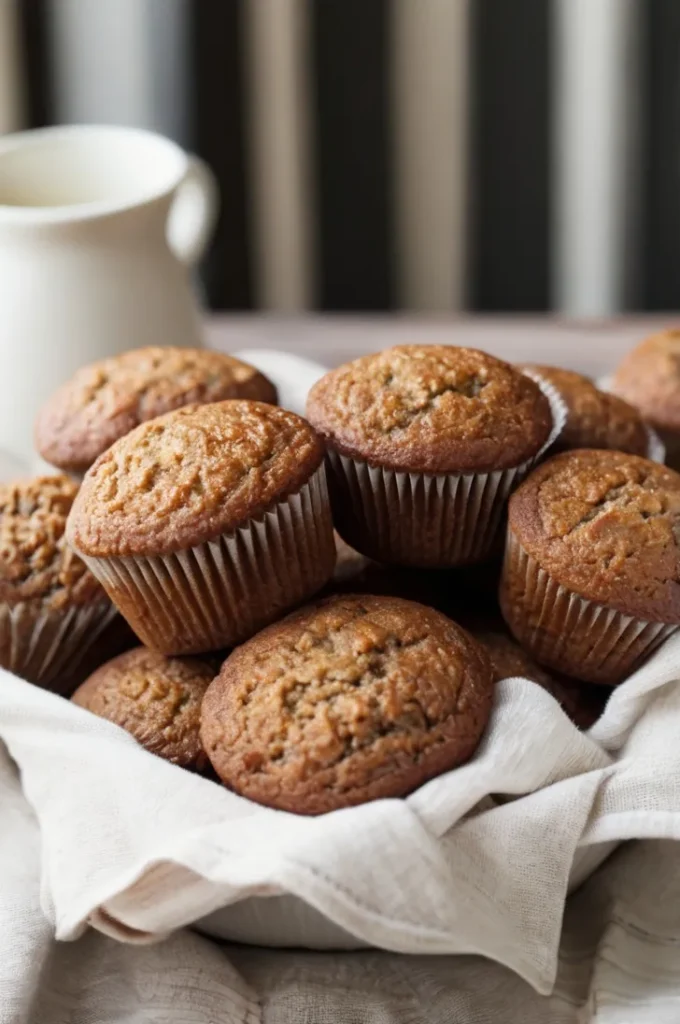
Serving, Storing, and Enjoying Your Bran Muffins
Now that your bran muffins are baked and cooling, it’s time to talk about how to serve, store, and make the most of these delicious treats!
Serving Your Bran Muffins
These bran muffins are incredibly versatile and can be enjoyed in a variety of ways:
- For Breakfast: Serve them with a dollop of Greek yogurt or a drizzle of honey for a nutritious and satisfying breakfast.
- Snack Time: Enjoy them as a mid-day snack with a cup of tea or coffee. The hearty texture makes them a perfect snack to keep you full and energized.
- With Butter or Jam: If you want a little extra indulgence, spread some butter, jam, or even peanut butter on top. The muffins are also fantastic when served warm with your favorite spread.
If you have any leftover muffins, it’s important to store them properly so they stay fresh for the next few days.
How to Store Bran Muffins
These muffins can be stored at room temperature for up to 3 days. Simply place them in an airtight container or sealable bag to keep them soft and moist. It’s best to store them in a cool, dry place away from direct sunlight.
Freezing Bran Muffins
If you’ve made a large batch or want to save some for later, freezing bran muffins is an excellent option. To freeze, allow the muffins to cool completely, then place them in a freezer-safe bag or container. Be sure to remove any excess air to prevent freezer burn. Bran muffins can be stored in the freezer for up to 3 months.
When you’re ready to enjoy one, simply thaw it at room temperature or warm it up in the microwave for about 20 seconds. You’ll have a fresh, delicious muffin in no time!
The Best Bran Muffin Recipe
Equipment
- Food Processor or Rolling Pin
- Mixing Bowls
- Whisk
- Muffin Tin
- Toothpick
- Cooling Rack
Ingredients
- 2 ¼ cups All-Bran Original cereal (divided)
- 1 ¾ cups all-purpose flour
- 2 teaspoons baking soda
- ½ teaspoon salt
- 1 ¾ cups sour cream (at room temperature)
- 6 tablespoons vegetable oil
- 2 large eggs (room temperature)
- ⅔ cup packed light brown sugar
- 3 tablespoons molasses or sorghum
- 1 teaspoon vanilla extract
- 1 cup raisins, dried cranberries, or dried cherries (optional)
Instructions
- The first step is to break down half of the All-Bran Original cereal to give your muffins a smoother texture. You can do this by placing half of the cereal in a food processor and processing it until finely ground. If you don’t have a food processor, simply put the cereal in a large Ziploc bag and use a rolling pin or meat mallet to crush it into fine crumbs. This step is important because it helps the bran blend better into the batter.
- In a large bowl, whisk together the dry ingredients: flour, baking soda, and salt. This will ensure that the baking soda is evenly distributed throughout the flour, which is crucial for even leavening. Once everything is well combined, set the bowl aside.
- In a separate bowl, whisk together the sour cream, vegetable oil, eggs, brown sugar, molasses, and vanilla extract. The sour cream helps keep the muffins moist, while the molasses adds a rich depth of flavor. Whisk everything until smooth and fully combined.
- Next, add the wet ingredients to the dry ingredients, and stir gently until just combined. Be careful not to overmix the batter! Overmixing can activate the gluten in the flour and result in dense, tough muffins. You want the batter to be slightly lumpy—this is normal and will ensure light and airy muffins.
- If you're using raisins, dried cranberries, or dried cherries, gently fold them into the batter at this point. These add-ins bring a burst of sweetness and texture to your muffins, but if you prefer a more traditional bran muffin, you can skip them entirely. It’s totally up to you!
- Before you start filling the muffin tin, make sure it’s ready. Grease your muffin tin generously or line it with paper muffin cups. This will help prevent the muffins from sticking and make cleanup a breeze. I recommend using paper liners if you want an easy way to remove the muffins from the tin without any mess.
- Spoon the muffin batter into the prepared muffin cups, filling each one all the way to the top. Don’t be afraid to fill them generously, as the muffins will rise during baking, giving them a nice, dome-like shape. The batter should be thick, so you’ll need to use a spoon to drop it in without spilling.
- Now, it’s time to bake! Place the muffin tin in the preheated oven and bake at 400°F for 16 to 20 minutes. To check for doneness, insert a toothpick into the center of one of the muffins. If it comes out clean or with just a few moist crumbs, they’re done. If not, give them a few more minutes.
- Once baked, allow the muffins to cool in the tin for about 5 minutes. This short resting time makes it easier to remove the muffins without them falling apart. After 5 minutes, transfer the muffins to a wire cooling rack to cool completely. This step helps prevent sogginess and ensures the muffins remain fluffy
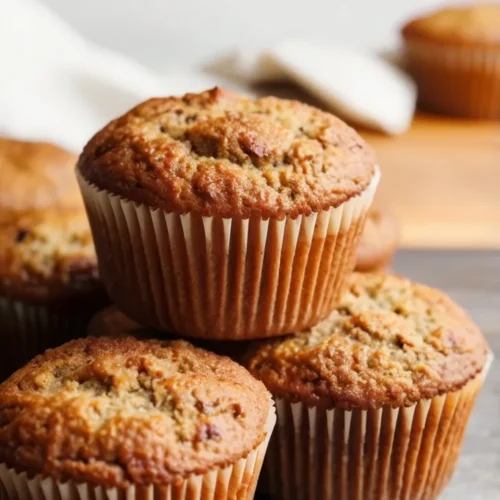
Final Thoughts
These Best Bran Muffins are a perfect combination of health and indulgence. With a balance of wholesome All-Bran cereal, molasses, and optional dried fruit, they offer both fiber and flavor in every bite. Whether you’re making them for breakfast, snack time, or a light dessert, these muffins are sure to please. Remember, the key to achieving light, moist muffins is to avoid overmixing the batter and to properly measure your ingredients. Follow these tips, and you’ll have a batch of delicious bran muffins that are sure to become a staple in your baking routine.