Craving a comforting, juicy roast chicken with crispy skin and rich, herby flavor? This Dutch Oven Roast Chicken recipe is everything you’re looking for.
Roasting a whole chicken in a Dutch oven locks in moisture while developing a beautifully golden, crackling skin.

Stuffed with aromatics like garlic, rosemary, thyme, onion, and celery, this recipe is simple, wholesome, and deeply satisfying.
Whether you’re cooking for Sunday dinner or prepping leftovers for the week, this Dutch oven method delivers every time.
Ingredients List
Main Ingredients
- 1 whole chicken (5–6 lbs.), giblets removed
- Kosher salt and ground black pepper (to taste)
- ½ onion, cut into 4 pieces
- 1 stalk celery, quartered
- 5 sprigs fresh thyme
- 2 long sprigs fresh rosemary
- 3 cloves garlic, peeled
- 1 tablespoon vegetable oil (for coating the Dutch oven)
- 2 tablespoons salted butter, melted
Required Kitchen Tools
When preparing a Dutch Oven Roast Chicken, having the right kitchen tools makes all the difference. Here’s what I recommend:
- Dutch Oven (5.5 qt or larger): The heavy lid traps steam while roasting, keeping the chicken tender and juicy.
- Meat Thermometer: A must for perfectly cooked chicken—no guesswork, just accuracy.
- Kitchen Twine: To tie the legs together for even cooking and a beautiful presentation.
- Basting Brush: For brushing on that golden butter for crispy, flavorful skin.
- Tongs or Carving Knife: Essential for handling and serving the chicken easily and safely.
Having these tools ready before you begin will streamline your cooking process and set you up for roast chicken success.
Chicken Preparation
Bringing the Chicken to Room Temperature
Before we even get to the oven, it’s important to let the chicken sit out for about 30 minutes at room temperature. This step helps the bird cook more evenly and prevents it from seizing up in the heat. Trust me—this simple prep move leads to juicier meat and crispier skin.
Prepping the Dutch Oven and Chicken
While the chicken is resting, preheat your oven to 425°F (220°C). Lightly coat the bottom of your Dutch oven with vegetable oil—this helps prevent sticking and encourages even browning.
Now, pat the chicken dry with paper towels. This is a crucial step. Moisture on the skin is the enemy of crispiness, so the drier the bird, the better the roast.
Seasoning and Stuffing
Generously season the inside cavity of the chicken with kosher salt and ground black pepper. Then, pack it full of flavor:
- Onion chunks
- Celery pieces
- Garlic cloves
- Fresh rosemary and thyme
Don’t worry if it doesn’t all fit—you just want to get in as much as you reasonably can without forcing it.
Next, tie the legs together using kitchen twine. This helps the chicken roast more evenly and looks neater when serving. Tuck the wings underneath the bird so they don’t burn.
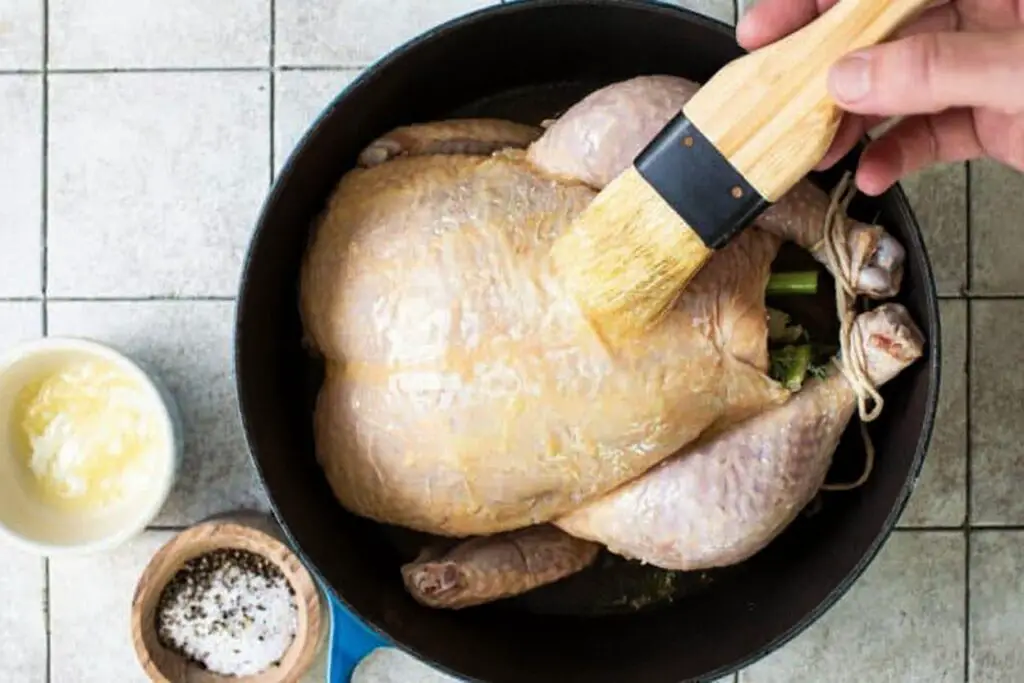
Buttering and Final Seasoning
Using a basting brush, coat the outside of the chicken with melted salted butter. This not only enhances the flavor but helps achieve that golden, crispy skin we all love. Finally, season the chicken all over with kosher salt and black pepper. Be generous!
Now your chicken is ready to hit the oven.
Roasting the Chicken
Cooking Time and Temperature
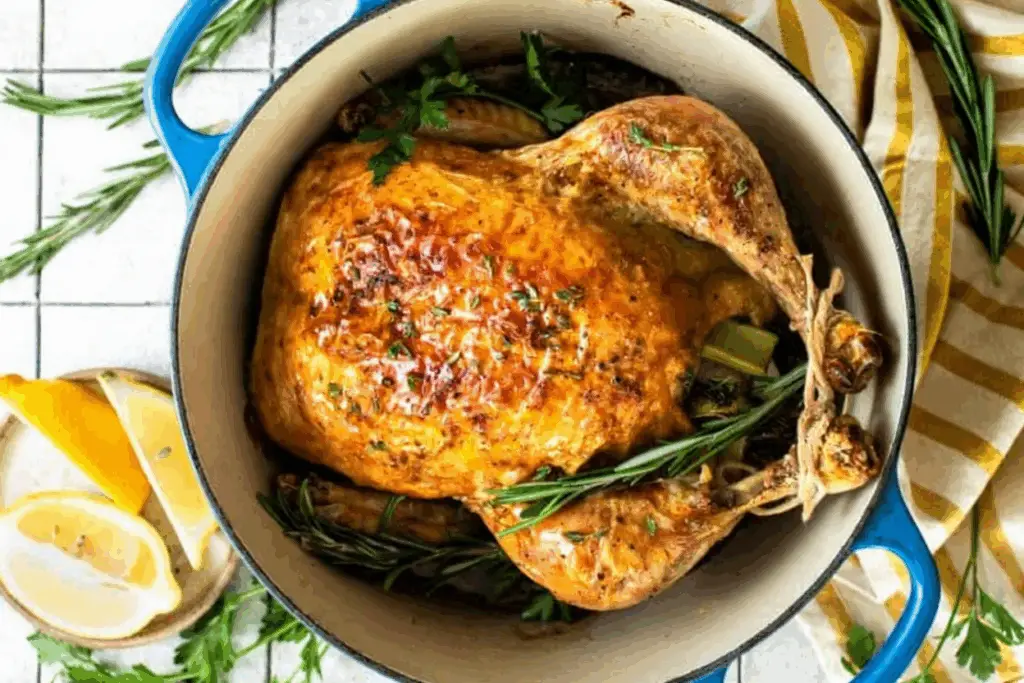
Place your seasoned chicken breast-side up into the prepared Dutch oven. Slide it into the preheated 425°F (220°C) oven, uncovered, and let it roast for 1½ hours.
Here’s what to keep in mind as it cooks:
- Check the chicken after the first hour. If the skin is getting too dark too quickly, simply place the lid on the Dutch oven for the remaining roasting time. This protects the skin from burning while allowing the chicken to finish cooking through.
- Use a meat thermometer to check for doneness. Insert it into the thickest part of the thigh, not touching bone. You’re looking for an internal temperature of 170–175°F (77–80°C).
When the temperature’s just right and the juices run clear when you cut between the leg and thigh, it’s done.
Resting Before Carving
This step is easy to overlook, but please don’t skip it. After removing the chicken from the Dutch oven, let it rest for 10–15 minutes before carving. This gives the juices time to redistribute, keeping your chicken incredibly moist and flavorful.
I usually place it on a cutting board and loosely tent it with foil during this time.
Serving Suggestions and Storage Tips
How to Serve Dutch Oven Roast Chicken
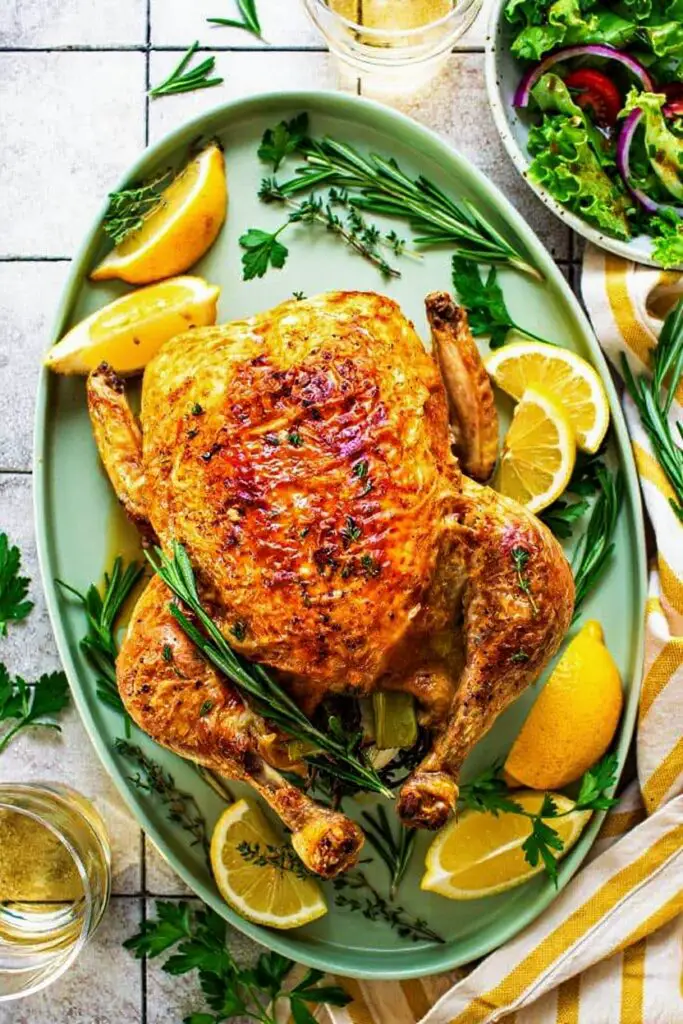
Once your chicken has rested, it’s ready to carve. I like to slice it up and serve it with classic sides like:
- Roasted vegetables (carrots, potatoes, parsnips)
- Buttery mashed potatoes
- Crispy green beans or sautéed spinach
- Rustic bread or dinner rolls to soak up the flavorful drippings
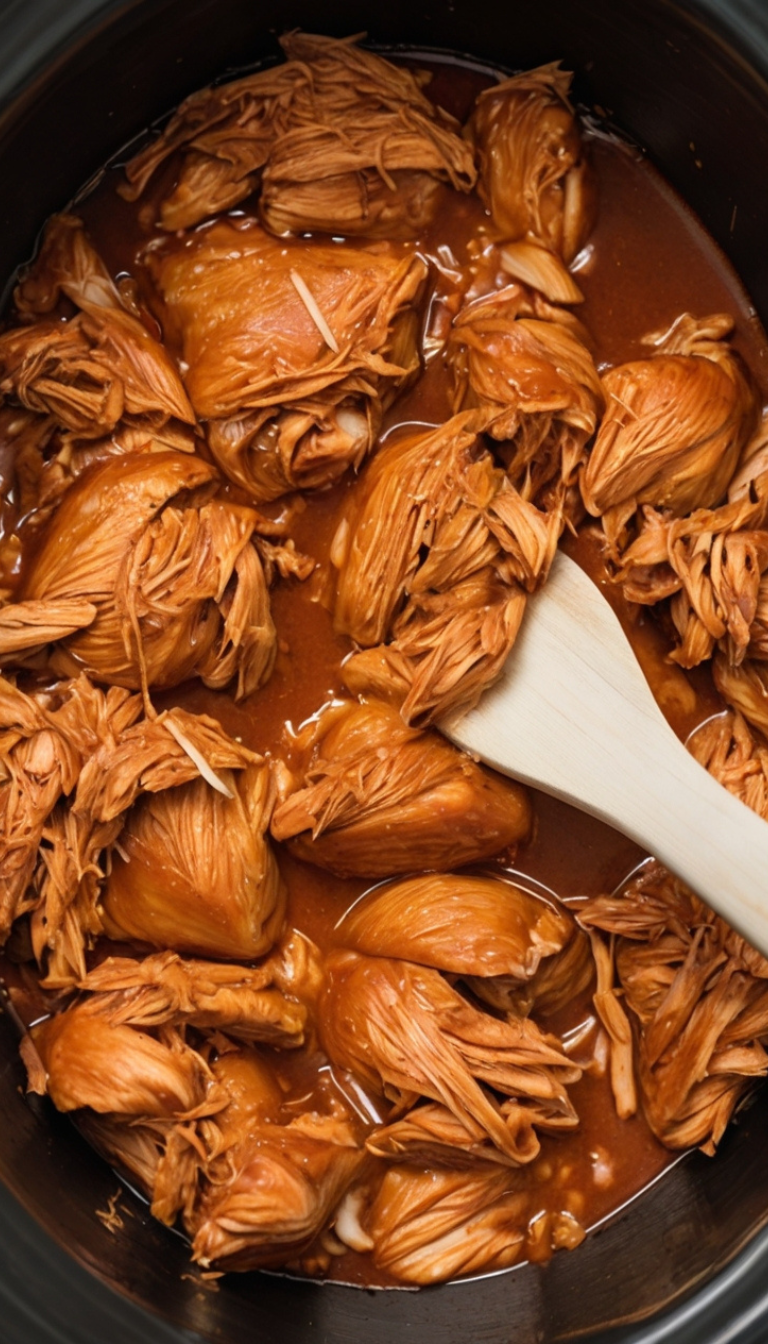
If you’ve roasted your chicken with the lid on for part of the time, you’ll notice juicy, herby drippings at the bottom of the Dutch oven. Don’t toss them—these make an incredible base for homemade gravy or can be spooned directly over the carved meat.
Storing Leftovers
To keep your chicken tasting fresh:
- Refrigerate leftovers in an airtight container for up to 4 days.
- You can also shred the chicken for sandwiches, wraps, or chicken salad during the week.
Can You Freeze Roast Chicken?
Absolutely. Roast chicken freezes beautifully.
- Simply remove the meat from the bones, store it in freezer-safe bags or containers, and freeze for up to 3 months.
- When you’re ready to eat, thaw in the fridge overnight and reheat gently on the stovetop or in the oven.
You can also use the leftover bones and carcass to make a rich homemade chicken stock. Just simmer with onions, garlic, herbs, and veggies for a few hours—nothing goes to waste!

Dutch Oven Roast Chicken
Equipment
- Dutch Oven (5.5 qt or larger)
- Meat Thermometer
- Kitchen Twine
- Basting Brush
- Tongs or Carving Knife
Ingredients
Main Ingredients
- 1 whole chicken (5–6 lbs.), giblets removed
- Kosher salt and ground black pepper (to taste)
- ½ onion, cut into 4 pieces
- 1 stalk celery, quartered
- 5 sprigs fresh thyme
- 2 long sprigs fresh rosemary
- 3 cloves garlic, peeled
- 1 tablespoon vegetable oil (for coating the Dutch oven)
- 2 tablespoons salted butter, melted
Instructions
Chicken Preparation
- Before we even get to the oven, it's important to let the chicken sit out for about 30 minutes at room temperature. This step helps the bird cook more evenly and prevents it from seizing up in the heat. Trust me—this simple prep move leads to juicier meat and crispier skin.
- While the chicken is resting, preheat your oven to 425°F (220°C). Lightly coat the bottom of your Dutch oven with vegetable oil—this helps prevent sticking and encourages even browning.Now, pat the chicken dry with paper towels. This is a crucial step. Moisture on the skin is the enemy of crispiness, so the drier the bird, the better the roast.
- Onion chunksCelery piecesGarlic clovesFresh rosemary and thyme
- Using a basting brush, coat the outside of the chicken with melted salted butter. This not only enhances the flavor but helps achieve that golden, crispy skin we all love. Finally, season the chicken all over with kosher salt and black pepper. Be generous!
Roasting the Chicken
- Place your seasoned chicken breast-side up into the prepared Dutch oven. Slide it into the preheated 425°F (220°C) oven, uncovered, and let it roast for 1½ hours.Check the chicken after the first hour. If the skin is getting too dark too quickly, simply place the lid on the Dutch oven for the remaining roasting time. This protects the skin from burning while allowing the chicken to finish cooking through.Use a meat thermometer to check for doneness. Insert it into the thickest part of the thigh, not touching bone. You're looking for an internal temperature of 170–175°F (77–80°C).
- This step is easy to overlook, but please don’t skip it. After removing the chicken from the Dutch oven, let it rest for 10–15 minutes before carving. This gives the juices time to redistribute, keeping your chicken incredibly moist and flavorful.
Conclusion
This Dutch Oven Roast Chicken is a foolproof, flavor-packed dish that belongs in every home cook’s rotation. With minimal prep and just a few fresh ingredients, you get a juicy, golden chicken that tastes like it came straight from a farmhouse kitchen.
Whether you’re serving it for a holiday, a cozy Sunday dinner, or meal prepping for the week, this recipe delivers every time. Plus, the leftovers are just as good—if not better—the next day.
Ready to impress your guests or just treat yourself to a seriously satisfying meal? Grab your Dutch oven and let’s get roasting.