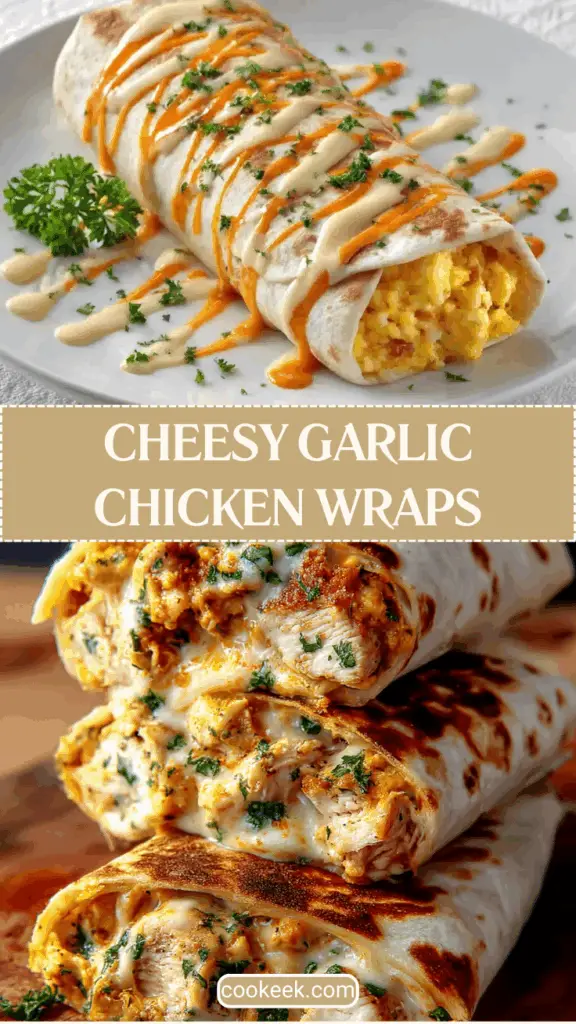
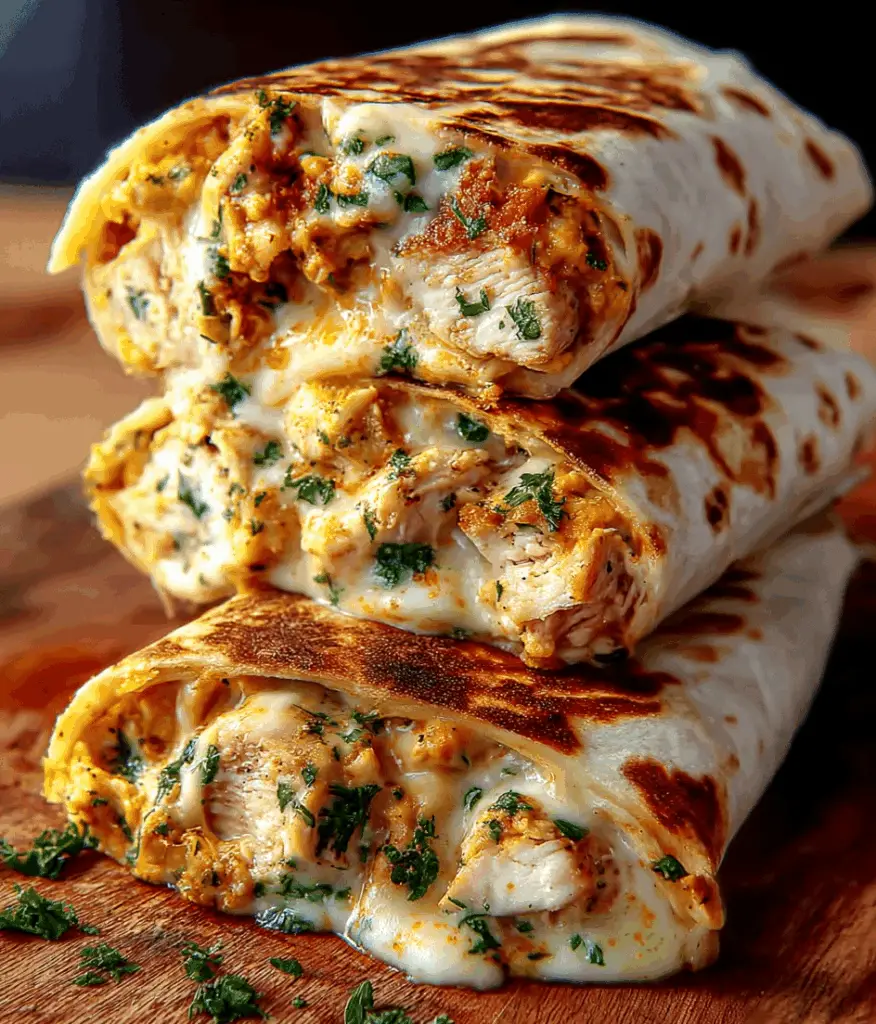
Craving a quick and satisfying bite packed with flavor? These Cheesy Garlic Chicken Wraps are everything you need in a comfort food—melty cheese, juicy chicken, and a kick of garlicky goodness, all wrapped in a golden, crispy tortilla.
Whether you’re whipping up a fast lunch, prepping a game day snack, or making dinner on a busy weeknight, this easy chicken wrap recipe delivers bold flavor with minimal effort.
Ingredients List
Let’s keep it simple and delicious. Here’s what you’ll need to make Cheesy Garlic Chicken Wraps at home:
Chicken Filling
- 2 cups cooked chicken, shredded (rotisserie chicken works great)
- 1/2 cup garlic aioli
- Salt and pepper to taste
Wraps
- 1 cup cheddar cheese, shredded (feel free to mix with mozzarella for extra gooeyness)
- 4 large tortillas (flour tortillas are best for wrapping)
This ingredient list keeps things straightforward but flavorful, perfect for beginners or anyone short on time.
Required Kitchen Tools
Having the right tools on hand makes wrap night fast, fun, and mess-free. Here’s what I recommend:
- Mixing Bowl – For combining the chicken filling with the garlic aioli.
- Skillet or Grill Pan – For toasting the wraps to golden, melty perfection.
- Spatula – To flip your wraps with ease while grilling.
- Sharp Knife – For slicing the wraps before serving.
- Cutting Board – A clean surface to wrap and prep your tortillas.
These basics are all you need to make this cheesy wrap recipe a success.
Filling Preparation
Creating the perfect chicken filling is all about balancing creaminess with flavor. Here’s how I do it:
Mixing the Ingredients
In a large mixing bowl, combine the shredded cooked chicken with garlic aioli. The aioli brings in that rich, garlicky punch while keeping the filling moist and flavorful. Add a generous pinch of salt and freshly ground black pepper to taste.
Mix everything until the chicken is evenly coated and creamy. This mixture becomes the flavorful heart of our cheesy chicken wraps.
Assembling the Wraps
Once the chicken filling is ready, it’s time to wrap things up—literally!
Step-by-Step Wrap Assembly
- Lay Out the Tortillas
Place the large flour tortillas on a clean cutting board or prep surface. Keep them flat for easy layering. - Add the Chicken Filling
Spoon about a quarter of the chicken mixture onto the center of each tortilla. Spread it out slightly but keep it centered to avoid overstuffing the edges. - Add the Cheese
Sprinkle shredded cheddar cheese generously over the chicken. Want it extra cheesy? Go for it—no judgment here! - Fold and Wrap
Fold the bottom of the tortilla up over the filling, then fold in the sides, and roll it up tightly from the bottom to the top. You should have a neat, burrito-style wrap that holds everything in.
These steps are quick and simple, making this recipe a fantastic choice for meal prepping or last-minute meals.
Grilling the Wraps
Now that your wraps are assembled, it’s time to get that golden, crispy exterior and melty cheesy center that makes these wraps irresistible.
Cooking the Wraps
- Preheat Your Skillet
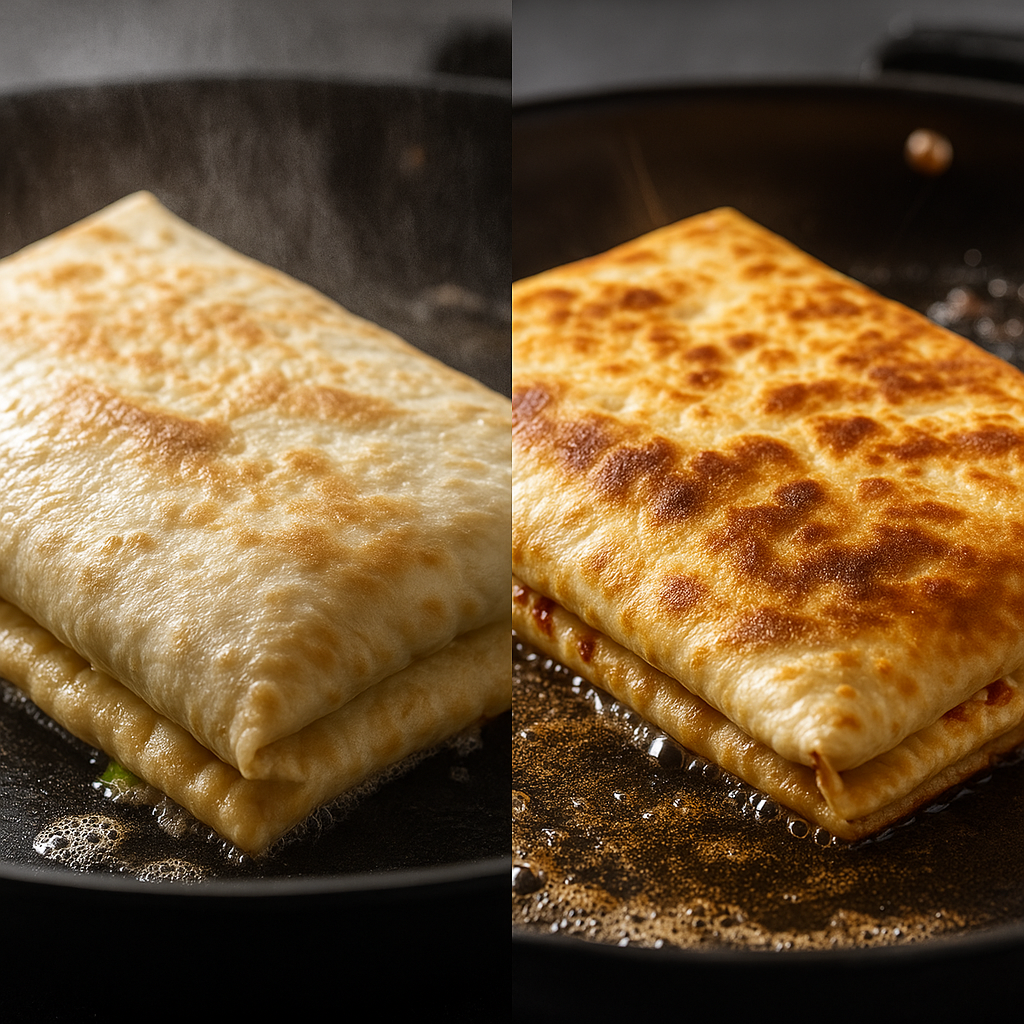
Heat a large skillet or grill pan over medium heat. You want it hot enough to crisp the tortilla without burning it. - Cook the Wraps
Place the wraps seam-side down onto the skillet. This helps seal the wrap and keeps the filling from spilling out. Cook for about 3-4 minutes per side, pressing gently with a spatula to get an even golden-brown crust. - Check for Melty Cheese
When both sides are golden and crispy, the cheese inside should be melted and gooey — the perfect texture for every bite. - Remove and Rest
Transfer the wraps to a cutting board and let them rest for a minute. This keeps the filling from spilling out when you slice.
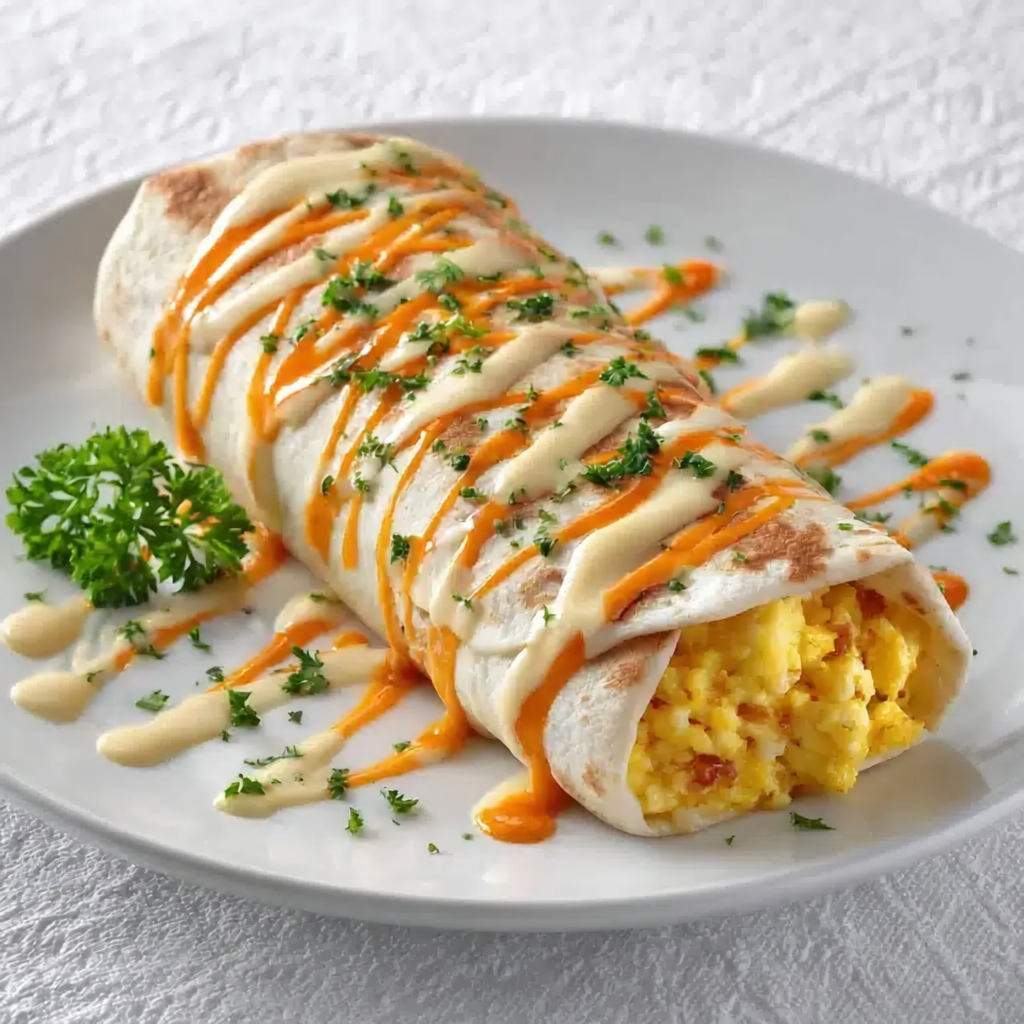
Serving Suggestions
Cut your cheesy garlic chicken wraps diagonally in half for easy eating and an attractive presentation. They’re fantastic on their own or served with:
- A crisp green salad for a light meal
- Spicy salsa or pico de gallo for an extra flavor kick
- A side of guacamole or sour cream for dipping
These wraps are perfect for lunchboxes, quick dinners, or casual get-togethers with friends.
Storage Instructions
How to Keep Your Wraps Fresh
If you have leftovers (though they rarely last long!), store the wraps in an airtight container in the refrigerator. They’ll stay fresh for up to 2 days. For best results, reheat them in a skillet over medium heat to keep the tortilla crispy rather than using a microwave, which can make them soggy.
Freezing Wraps
Want to prep in advance? You can freeze these wraps before grilling:
- Wrap each assembled, uncooked wrap tightly in plastic wrap and place them in a freezer-safe bag.
- Freeze for up to 1 month.
- When ready to eat, thaw overnight in the fridge and grill as usual.
This method saves time and keeps the cheesy garlic chicken flavor intact.
Cheesy Garlic Chicken Wraps
Equipment
- Mixing Bowl
- Skillet or Grill Pan
- Spatula
- Sharp Knife
- Cutting Board
Ingredients
Chicken Filling
- 2 cups cooked chicken, shredded (rotisserie chicken works great)
- 1/2 cup garlic aioli
- Salt and pepper to taste
Wraps
- 1 cup cheddar cheese, shredded (feel free to mix with mozzarella for extra gooeyness)
- 4 large tortillas (flour tortillas are best for wrapping)
Instructions
Filling Preparation
- In a large mixing bowl, combine the shredded cooked chicken with garlic aioli. The aioli brings in that rich, garlicky punch while keeping the filling moist and flavorful. Add a generous pinch of salt and freshly ground black pepper to taste.Mix everything until the chicken is evenly coated and creamy. This mixture becomes the flavorful heart of our cheesy chicken wraps.
Assembling the Wraps
- Place the large flour tortillas on a clean cutting board or prep surface. Keep them flat for easy layering.
- Spoon about a quarter of the chicken mixture onto the center of each tortilla. Spread it out slightly but keep it centered to avoid overstuffing the edges.
- Sprinkle shredded cheddar cheese generously over the chicken. Want it extra cheesy? Go for it—no judgment here!
- Fold the bottom of the tortilla up over the filling, then fold in the sides, and roll it up tightly from the bottom to the top. You should have a neat, burrito-style wrap that holds everything in.
Grilling the Wraps
- Heat a large skillet or grill pan over medium heat. You want it hot enough to crisp the tortilla without burning it.
- Place the wraps seam-side down onto the skillet. This helps seal the wrap and keeps the filling from spilling out. Cook for about 3-4 minutes per side, pressing gently with a spatula to get an even golden-brown crust.
- When both sides are golden and crispy, the cheese inside should be melted and gooey — the perfect texture for every bite.
- Transfer the wraps to a cutting board and let them rest for a minute. This keeps the filling from spilling out when you slice.
Conclusion
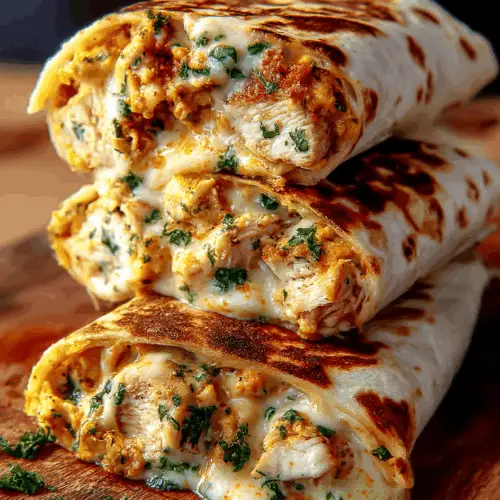
Making Cheesy Garlic Chicken Wraps is one of my favorite go-to recipes when I want something quick, comforting, and packed with flavor.
The creamy garlic chicken filling paired with melted cheddar cheese wrapped in a crispy tortilla hits all the right notes for an easy meal or snack. Plus, the recipe is flexible—feel free to swap in your favorite cheese or add veggies like spinach or roasted peppers for an extra boost.
Give this recipe a try, and I promise it will become a staple in your kitchen rotation. Perfect for busy days, casual dinners, or anytime you want a delicious, fuss-free meal. So, grab your ingredients, fire up that skillet, and enjoy these cheesy, garlicky wraps fresh and warm!