Looking for a crowd-pleasing dessert that’s creamy, nostalgic, and irresistibly easy to make? My Banana Pudding Poke Cake brings together the rich comfort of banana pudding and the soft, fluffy texture of vanilla cake.
This Southern-inspired treat is perfect for potlucks, family dinners, or when you’re simply craving something sweet, cold, and banana-filled.
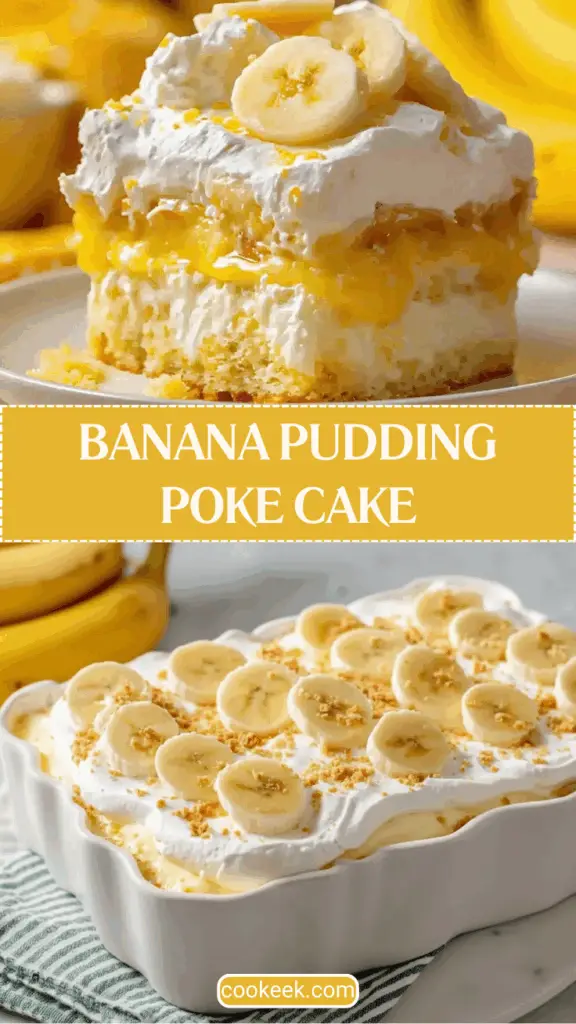
The magic lies in the layers—moist vanilla cake soaked in banana pudding, topped with whipped cream and crunchy vanilla wafers, and finished with fresh banana slices for that final touch. If you grew up loving banana pudding, this cake will feel like home in every bite.
Whether you’re a seasoned baker or just starting out, this recipe is incredibly beginner-friendly. Let’s dive in!
Ingredients List
Here’s everything you’ll need to make this Banana Pudding Poke Cake from scratch. You might already have most of these ingredients in your pantry!
For the Cake Base
- 1 box vanilla cake mix
- Ingredients listed on the box (usually eggs, milk or water, and oil)
For the Filling and Topping
- 1 package (3.4 oz) banana instant pudding mix
- 2 cups cold milk (to prepare the pudding)
- 2 cups heavy whipping cream or 1 tub Cool Whip
- 2 tablespoons granulated sugar (if making homemade whipped cream)
- 1 cup vanilla wafer cookies (half crushed, half whole for garnish)
- 2 ripe bananas (for garnish)
Required Kitchen Tools
Having the right tools on hand can make this poke cake recipe seamless and enjoyable. Here’s what I recommend:
- 9×13-Inch Baking Dish: Ideal size for even baking and layering.
- Hand or Stand Mixer: To prepare the cake batter and optionally whip the cream.
- Mixing Bowls: One for cake batter, one for pudding, and one for whipped cream.
- Wooden Spoon Handle: Perfect for poking uniform holes in the cake.
- Offset Spatula or Silicone Spreader: Helps to evenly spread pudding and whipped topping.
- Plastic Wrap or Foil: For covering the cake during chilling.
Baking the Cake & Preparing the Pudding Layer
Making a Banana Pudding Poke Cake is all about timing and layering. The key is to start with a warm cake so it can soak up all the creamy banana pudding goodness.
Step 1: Bake the Vanilla Cake
Start by preheating your oven to 350°F (175°C). Grease a 9×13-inch baking dish with butter or non-stick spray.
Prepare the vanilla cake batter according to the package instructions. This usually means combining the dry mix with eggs, milk or water, and oil. Mix until smooth and pour the batter evenly into your prepared baking dish.
Bake the cake for about 25 minutes, or until a toothpick inserted in the center comes out clean.
Once done, remove the cake from the oven and let it cool for 5 to 10 minutes—you want it warm, not hot.
Step 2: Poke the Holes
Using the handle of a wooden spoon, gently poke holes all over the surface of the cake. Space them evenly, about every 1–1.5 inches apart. The deeper the holes, the better the pudding soaks in.
Don’t worry if the top of the cake looks messy—that’s the charm of poke cakes!
Step 3: Mix and Pour the Banana Pudding
In a mixing bowl, whisk the banana instant pudding mix with 2 cups of cold milk until smooth and thickened slightly (about 2 minutes). You want it pourable but not runny.
Immediately pour the pudding over the warm cake, using a spatula to spread it evenly and gently press it into the holes.
This step is where the magic happens—each bite of cake will be infused with rich banana flavor.
Step 4: Chill the Cake
Cover the cake with plastic wrap or foil and place it in the refrigerator. Let it chill for at least 30 minutes, or until the pudding is fully set.
This resting time helps everything come together and makes it easier to spread the topping later.
Whipped Topping, Decoration & Serving Suggestions
Once the cake is fully chilled and the pudding has set, it’s time to finish things off with a light, creamy topping and classic Southern-style garnishes.
Step 5: Make the Whipped Cream (or Use Cool Whip)
If you’re making homemade whipped cream, pour 2 cups of heavy whipping cream into a cold mixing bowl. Add 2 tablespoons of granulated sugar and beat on high speed using a hand mixer or stand mixer until stiff peaks form. This will take around 3–4 minutes.
Step 6: Add the Whipped Topping
Spread the whipped cream or Cool Whip evenly over the chilled, pudding-soaked cake. Use an offset spatula or the back of a spoon to create smooth swirls or rustic peaks—whatever suits your style.
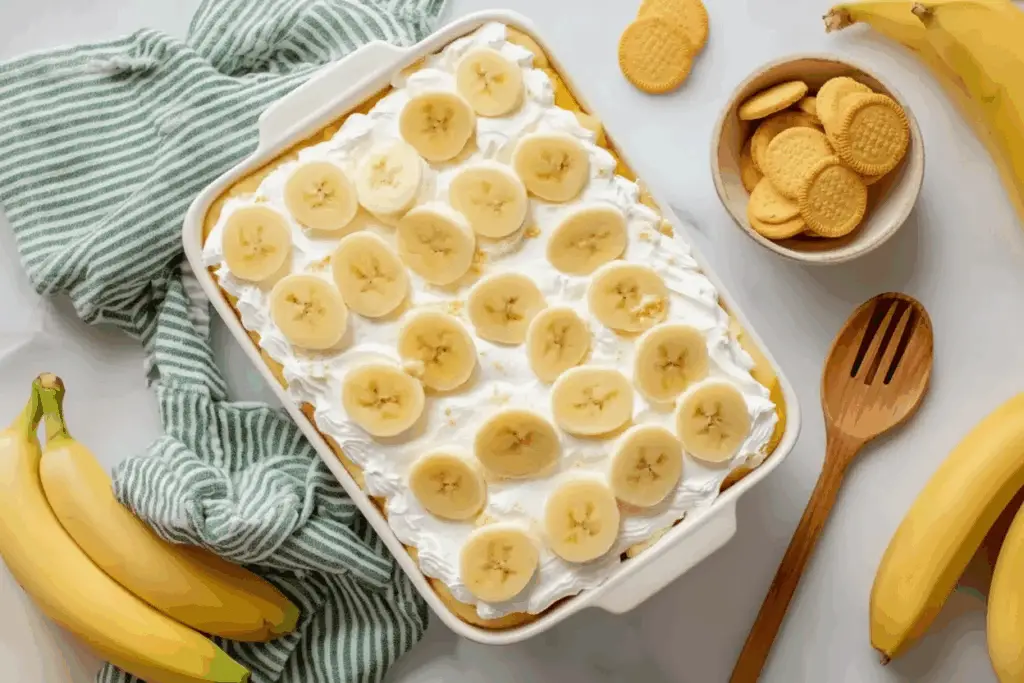
Step 7: Decorate with Wafers & Bananas
Now comes the fun part—garnishing! Here’s how I like to do it:
- Crush half of the vanilla wafers and sprinkle them generously over the whipped topping layer. This adds a nice crunch and brings in that nostalgic banana pudding flavor.
- Slice two ripe bananas into thin rounds and place them across the top of the cake.
- Use the remaining whole wafers to create a border or place them in rows across the cake for a beautiful finish.
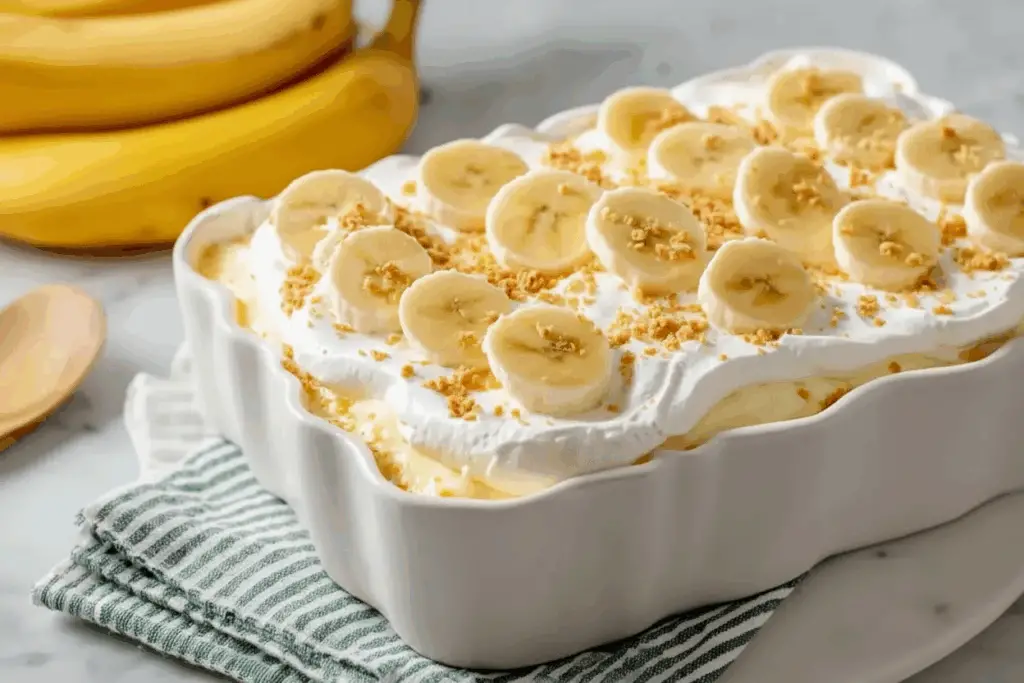
Step 8: Serve & Enjoy
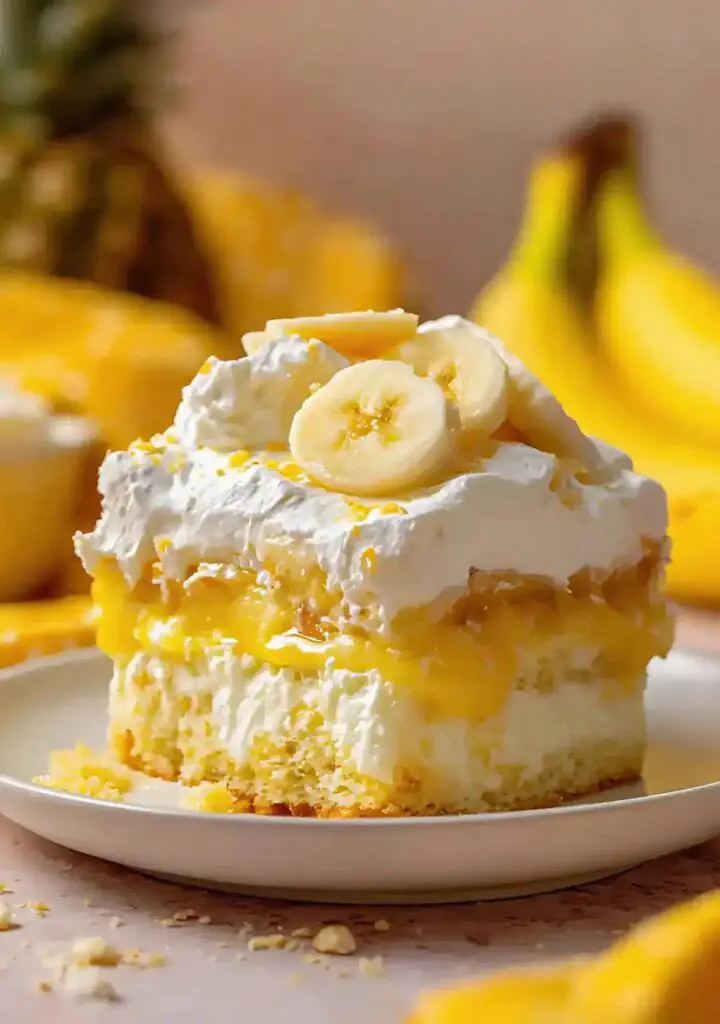
Once decorated, your Banana Pudding Poke Cake is ready to slice and serve! Each piece delivers that perfect mix of soft vanilla cake, rich banana pudding, whipped cream, and a satisfying crunch from the cookies.
It’s creamy, dreamy, and everything a Southern-inspired dessert should be.
Storage Tips, Make-Ahead Options & Final Thoughts
How to Store Banana Pudding Poke Cake
Because this cake is moist and filled with pudding and whipped cream, proper storage is key to keeping it fresh and delicious.
- Refrigerate: Store leftovers in an airtight container or cover the baking dish tightly with plastic wrap. Keep it refrigerated and consume within 3 to 4 days for the best texture and flavor.
- Avoid Freezing: I don’t recommend freezing this cake because the pudding and whipped topping can separate and become watery when thawed.
Make-Ahead Tips
One of the best things about this recipe is how easy it is to make ahead:
- Bake the cake and poke the holes the day before.
- Prepare and pour the pudding layer, then refrigerate overnight to let it soak in fully.
- Whip the topping and garnish right before serving for the freshest look and flavor.
This way, when guests arrive, all you have to do is slice and enjoy!

Banana Pudding Poke Cake
Equipment
- 9×13-inch Baking Dish
- Hand or Stand Mixer
- Mixing Bowls
- Wooden Spoon Handle
- Offset Spatula or Silicone Spreader
- Plastic Wrap or Foil
Ingredients
For the Cake Base
- 1 box vanilla cake mix
- Ingredients listed on the box (usually eggs, milk or water, and oil)
For the Filling and Topping
- 1 package (3.4 oz) banana instant pudding mix
- 2 cups cold milk (to prepare the pudding)
- 2 cups heavy whipping cream or 1 tub Cool Whip
- 2 tablespoons granulated sugar (if making homemade whipped cream)
- 1 cup vanilla wafer cookies (half crushed, half whole for garnish)
- 2 ripe bananas (for garnish)
Instructions
Baking the Cake & Preparing the Pudding Layer
- Start by preheating your oven to 350°F (175°C). Grease a 9×13-inch baking dish with butter or non-stick spray.Prepare the vanilla cake batter according to the package instructions. This usually means combining the dry mix with eggs, milk or water, and oil. Mix until smooth and pour the batter evenly into your prepared baking dish.Bake the cake for about 25 minutes, or until a toothpick inserted in the center comes out clean.Once done, remove the cake from the oven and let it cool for 5 to 10 minutes—you want it warm, not hot.
- Using the handle of a wooden spoon, gently poke holes all over the surface of the cake. Space them evenly, about every 1–1.5 inches apart. The deeper the holes, the better the pudding soaks in.
- In a mixing bowl, whisk the banana instant pudding mix with 2 cups of cold milk until smooth and thickened slightly (about 2 minutes). You want it pourable but not runny.
- Cover the cake with plastic wrap or foil and place it in the refrigerator. Let it chill for at least 30 minutes, or until the pudding is fully set.
Conclusion
This Banana Pudding Poke Cake is truly one of my favorite easy-to-make desserts that never fails to impress. The layers of moist vanilla cake soaked in creamy banana pudding, topped with fluffy whipped cream, crunchy vanilla wafers, and fresh bananas make it a crowd-pleaser at any gathering.
Whether you’re making it for a family celebration, potluck, or simply because you want a sweet treat, this recipe will quickly become a staple in your baking repertoire.
Give it a try, and let me know how it turns out! If you have any questions or want more recipe ideas, I’m here to help.